|
I know people that go their whole
lives in some kind of protective bubble, but building a boat
seems to be a shit magnate. People in the family get ill or
die, injuries can occur and lately floods are all the fashion.
As far as health goes, I knew going in I had to be careful.
In the last several years I’ve been diagnosed with everything
except writing talent but all the things I considered as risks
did not occur, but the surprises sucked. And that’s the
point. Lesson learnt is... it is not possible to anticipate all
the things that can go wrong when you take on a project like
this, for example:
Shoulder injury: I didn’t see this
one coming. Damaged tendons are a bastard to heal. The shoulder
is a continuing problem that is being managed by adaptation of
equipment and technique but that cost 5 months outright and continues
to slow things. A caution to builders, this wasn’t a sudden
injury but rather a few days of extreme overwork. The actual
injury wasn’t realised until days later.
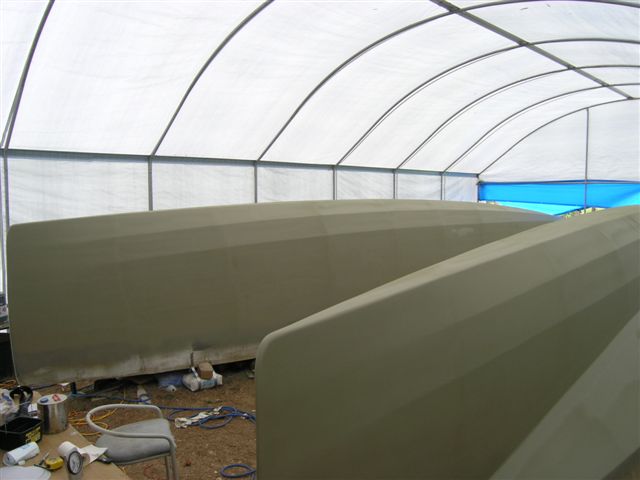
Where we re-started: The first hull was
a mess due to material defects and incomplete information. Repairs
to prevent water ingress into the balsa core were complicated,
time consuming and costly. The second hull was much better due
to luck and the acquisition of information on outgassing. [Kay
now calls the first hull, “Bob’s hull” and the
second hull, her hull.] These issues have all been reported in
previous editions and are on the website but a brief description
of the outgassing problem is at right. Lessons learnt? I wished
I had stuck to my plan of using foam sandwich. There is a mountain
of independent information on using the material. It is usually
less expensive and doesn’t require epoxy with it’s
cost and toxicity.
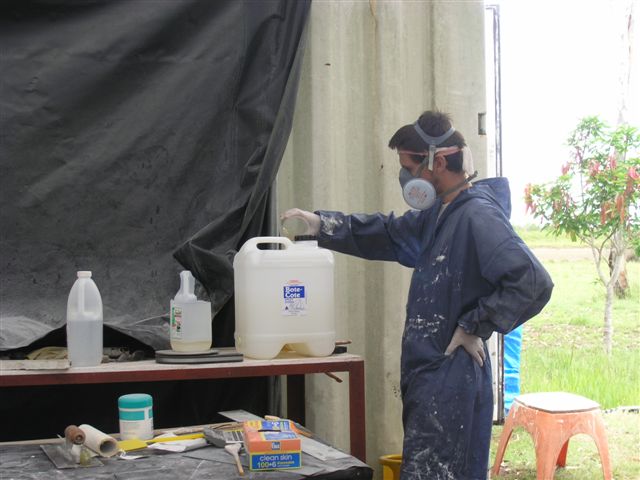
Boat Cote resin:
I did have concerns that I might be more susceptible to epoxy
reaction which has been the case but I have managed that. In
a way, this has been good in that some builders that don’t
expect trouble get themselves really toxic before they realise
what they’ve done. I have switched to Boat Cote epoxy resin
which claims to be less toxic than what I used before. It’s
even more expensive but if it saves health, worth every penny.
It works well in most regards but for bogging it has a tendency
to sag. I addressed this by using more cab-o-sil filler along
with the Q-cell in the mix which helps but makes for harder sanding.
Over-all, I like the resin.
The weather this summer has been miserable.
For the year and a half that the project was on hold we watched
cool dry days go by. My lovely drought! Now that I can work,
it’s monsoon city. That and the necessity of working at
night to insure every coating was a sealing coat, made for some
interesting schedules and extra work.
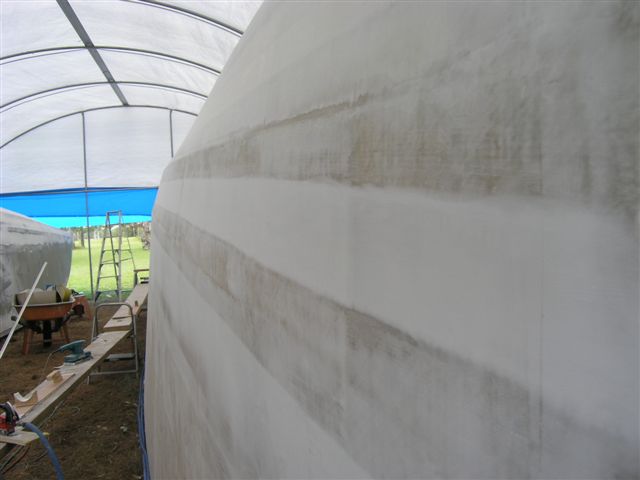
I admit that I lavished the hulls with
attention in the repair and finish stage. Once bitten, twice
shy. But the extra work will pay dividends later (hopefully)
as much fairing work has been incorporated that may save time
later and in increased confidence in the integrity of the water
proof sealing of the balsa.
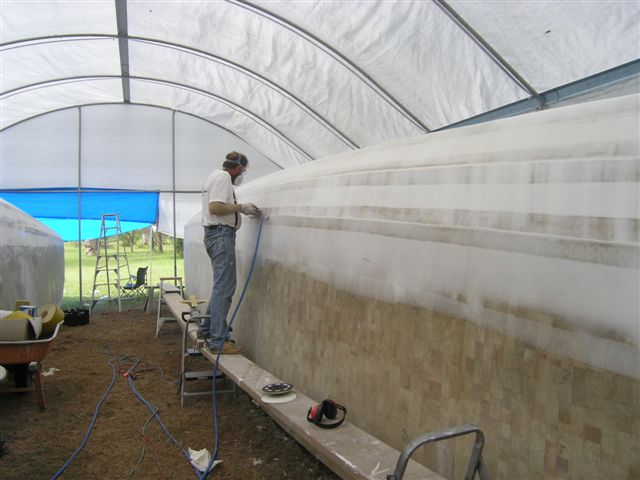
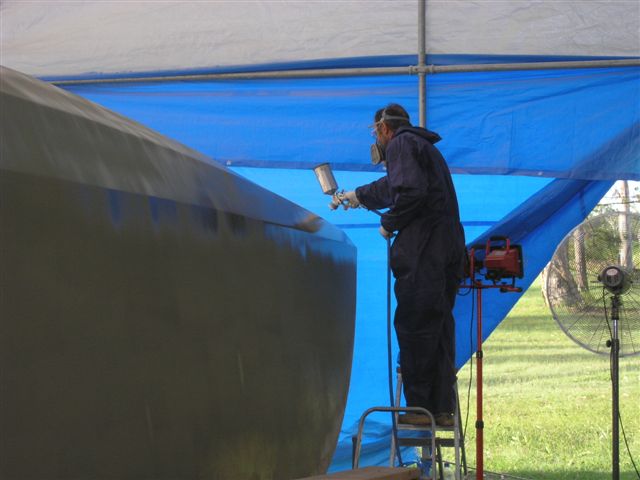
The Procedure that works: This reflects my experience with the Duflex.
To the extent possible this is what I did or would have done
if I could. First step, cover the panel surfaces with resin
at night or anytime the panels are cooling. The “longer”
the thermometer the better. A squeegee works best to fill the
pours. Then once that goes tacky, the first layer of bogg mixed
thick. When that goes tacky then another thinner coat of bogg
to smooth and fill the thicker layer. Let set overnight and
sand the next day when it’s gone off. That should get you
most of the way there but I still wouldn’t bet my life on
it. So, another layer of resin over the lot, again working at
night to be sure, let go tacky. After that comes another layer
of resin saturated with copper powder. [I elected to use this
for abrasion resistance rather than long term anti-foul. I have
had reports of this mix preventing hull damage from grounding.
I have found that some especially savvy sailors use this mix
to prevent abrasion damage to key areas on deck as well.] After
the copper coat goes good and tacky, a coat of epoxy primer (that’s
Wattyl Epinamel PR 250, formally called EP universal)), and later
we’ll coat that with Wattyl DTM 900 for a tough sealing
coat and then a chlorinated rubber tie coat and anti-foul. I
did do a test to insure compatibility of the primer and resin.
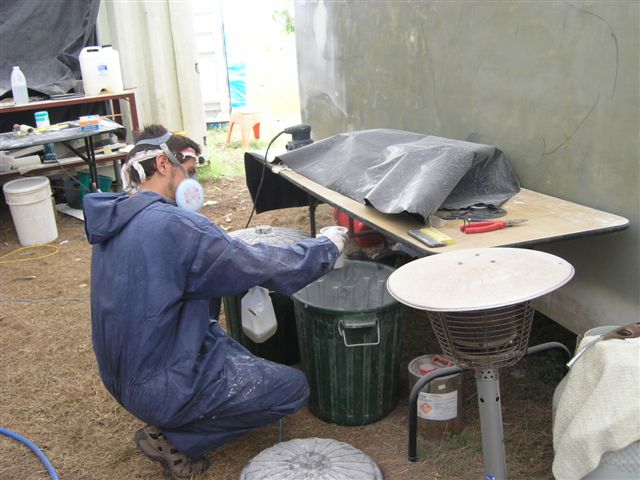
Cool Tip!
When rolling resin on in hot weather, I used modest batches (350
t0 450 grams) and kept most of it in a milk container that I
left floating in a bucket with a few inches of water in the bottom.
This dissipated the exothermic heat of the reaction and extended
the pot life dramatically.
Dry Tip!
To keep water out of my air tools and paint sprayer, I bought
a 30 metre air hose to connect the compressor with the tank.
I threw the excess hose into a dam next to the tent and the
water keeps the line cool and prevents most of the condensation
from reaching the tank or my tools and paint sprayer. Thanks
to an Airlie Beach reader for that tip.
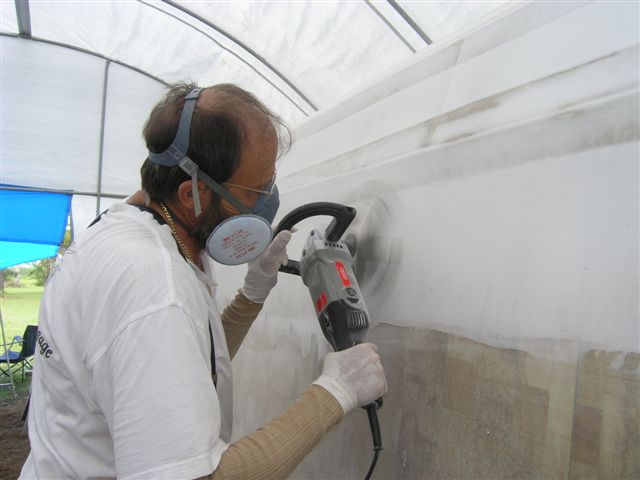
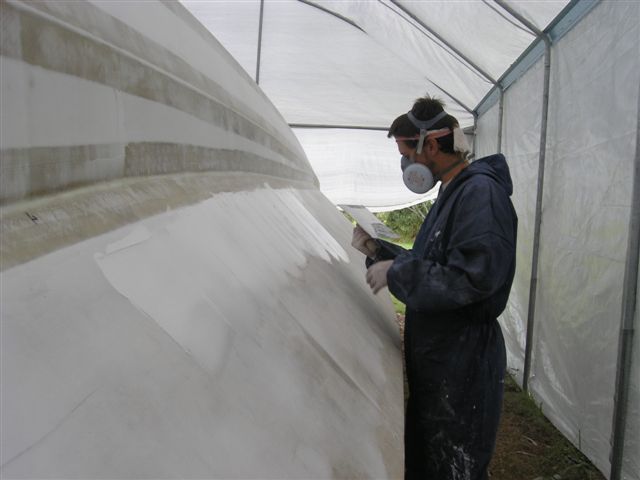
The Cool Tools:
I showed some tools I modified
and fabricated for the job. Having had a chance to really test
them, I report success! The split tool is wonderful for sanding
bogg in an even, fast and controllable fashion. Finish work will
be it’s forte. Using 80 grit on it leaves a 120 grit surface,
don’t ask me how, it just does. The air sander that in
it’s original form spit oil all over the job really benefited
by greasing key parts instead of using more oil. Not one drop
of contamination after many hours of hard work. Replacing the
original ‘shoe’ with a big slab of plywood made it
much more effective. A fantastic tool! But the ugly truth is,
nothing beats a torture board. So for the gimp here, I made a
board that doesn’t require both shoulders. My one armed
torture board uses my right elbow to press against the work while
my right hand guides and puts pressure forward. No fun, but good
result.
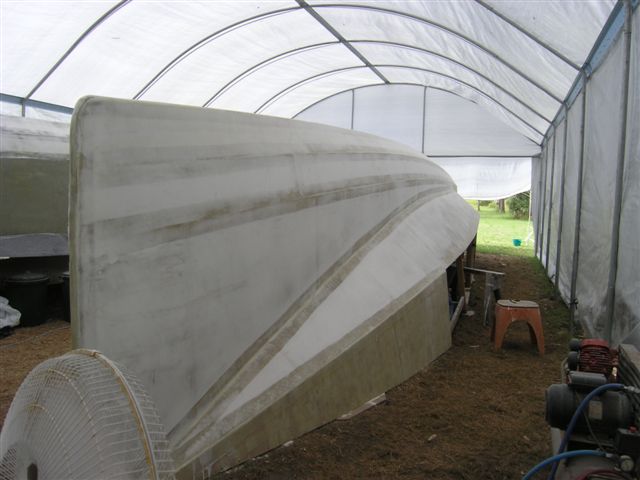
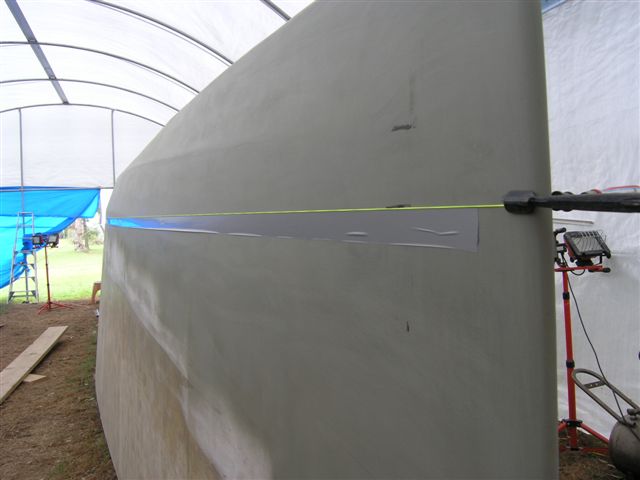
The Waterline:
All the you beaut ways to get this are a pain in the arse if
you are working on dirt. Stuff it! I spent hours trying to
get a hull level athwartships and fore and aft and gave up.
I had five points from the hull forms that indicated the waterline.
I transferred those measurements to the hulls then upon advise
(thanks Craig) added about 100mm to account for design optimism
and splash action that leaves a dirty bit just above the water.
I then took a string line, fastened it level with the fore
and aft marks and gently moved it (didn’t take much) to
line up with the other marks for a good fair line. See photo
at lower right.
Pardon my French!
I had some help for a week or two early on and it was useful
to get me back in the groove. One helper was Luc from France.
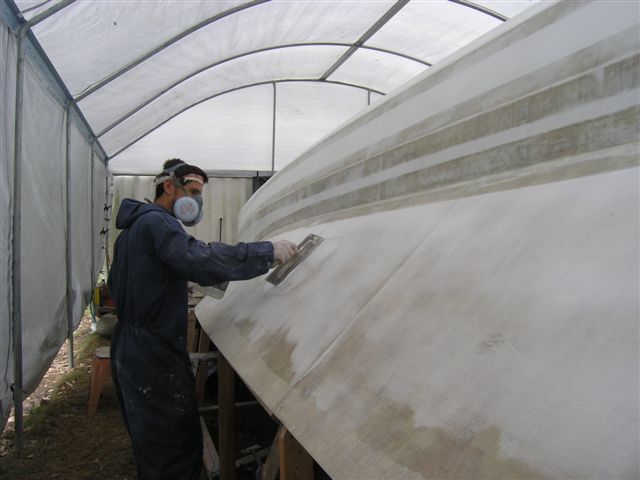
He was keen so turned him loose with a trowel. We have been
going through some wet periods and when the rain stopped, an
extraordinary insect breeding cycle came on. Boat Cote claims
their resin has an insect repellent built in but working at night
under lights... it was infuriating! Nothing would stop their
Kamikaze attacks on the white bogg. Swearing is kind of universal.
If not pronunciation, then tone certainly runs consistent through
the language barrier. The poor lad was trying really hard to
do a pro job and the bugs made a mess of every try. Oh well...
now incased in resin forever, is a (large) sample of Queensland
wildlife.
After last year I didn’t know if my
health would ever come back but the gut I had developed is already
going away and my body is gaining strength. The most important
thing though, is that I’ve got the dream back and I’m
really enjoying it. I’ve got a boat to build and after all
the bullshit we’ve been through so far, I doubt anything
can stop me.
|