|
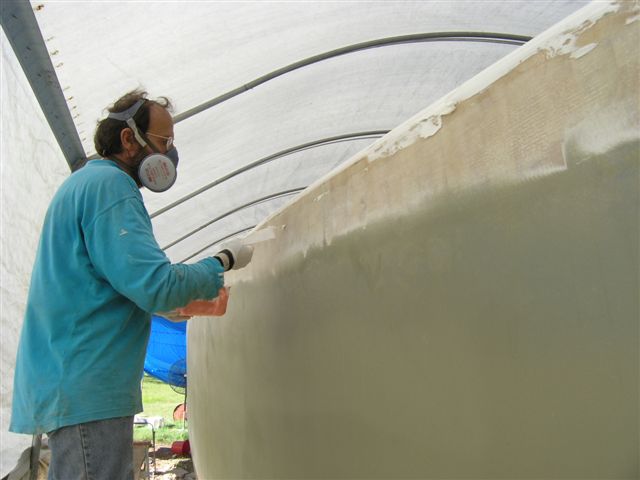
Taping the Sheer...
or.. make every move count and don't
stop till it's hard.. |
 |
Nothing flash for technique here.. just
drew lines at 40mm to help me keep the curve steady... |
 |
And your basic and sundry implements
of destruction... as Arlo would say. |
 |
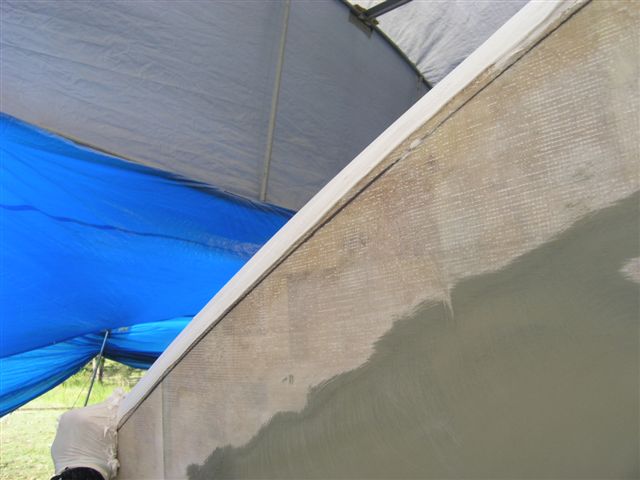
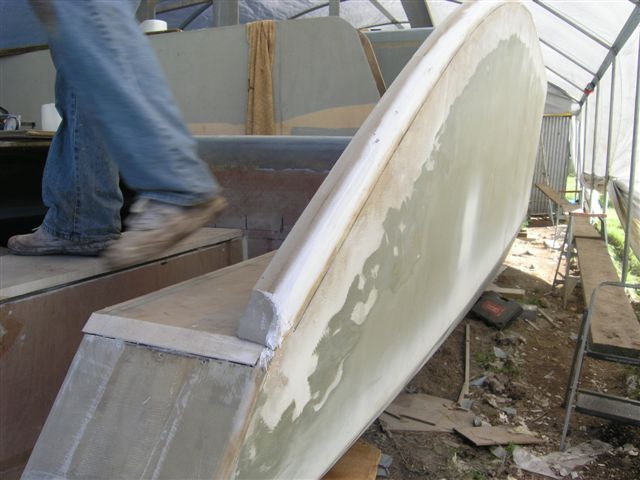
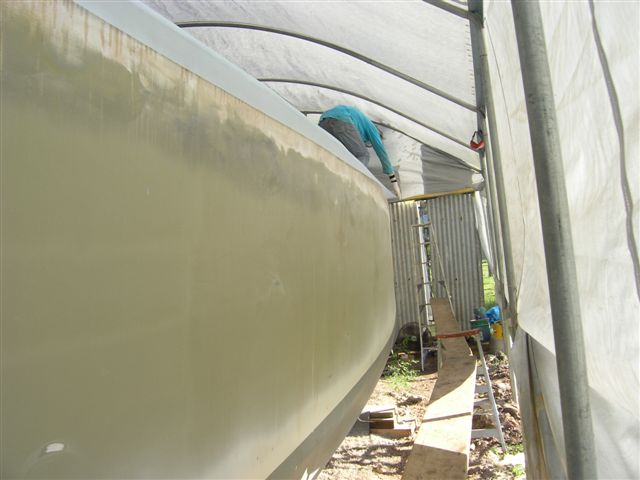
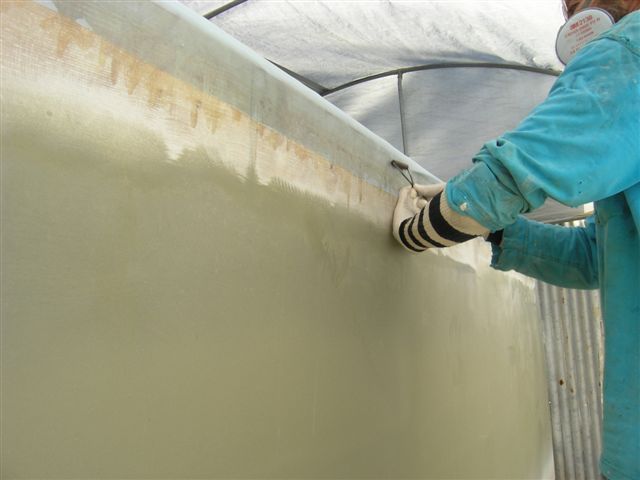
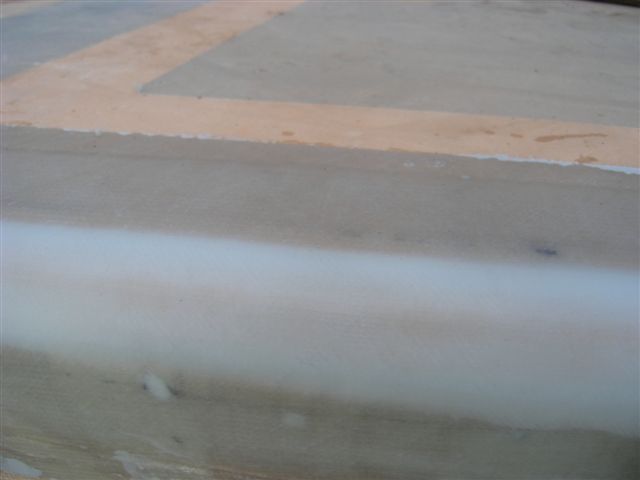
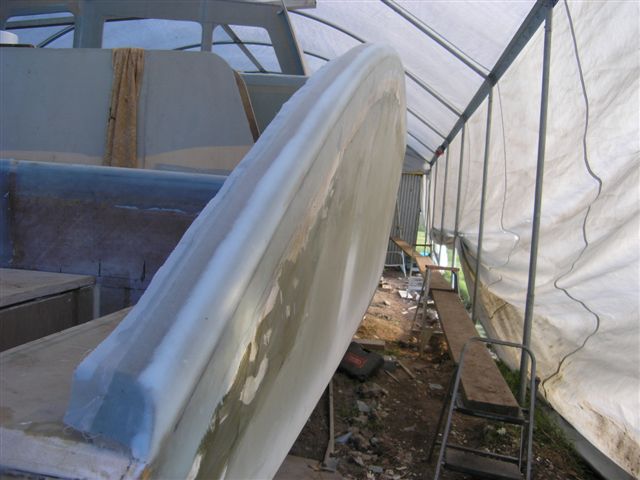
This is the radius I got. The gap between
the sheer panel and deck is no big thing. Thats what bogg is
for... Needless to say the taping had to be done late in the
day. The Duflex skin is porous but a naked balsa edge is even
more so. Putting resin on a surface like this without considering
outgassing is just plain stupid and
will guarantee a disisater down the road. One good thing about
using peel ply is outgassing is identifiable as it happens. You
can see the air under it. But taping without peel ply may result
in holes in the tape from escaping gas that you won't see until
later and then easily dismissed as just bubbles in the bogg. |
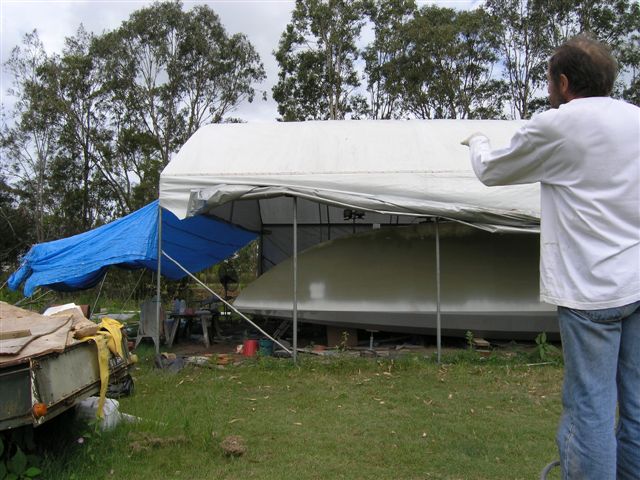 |
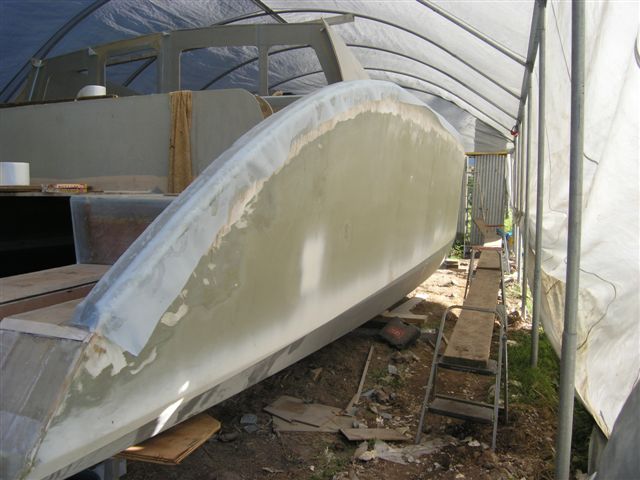
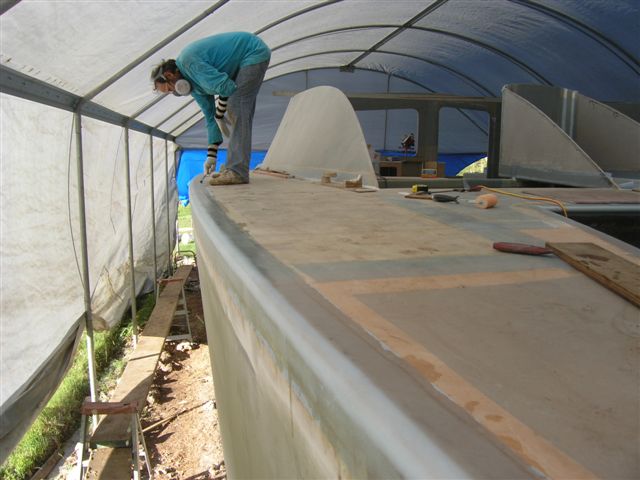
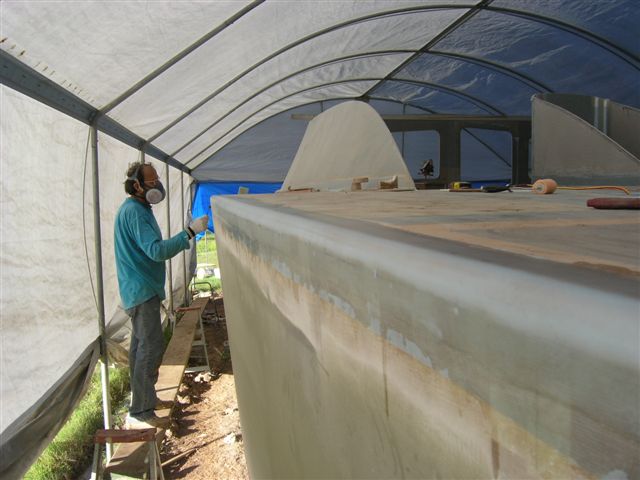
I also decided to change the sheer
line aft. I wanted more headroom in the aft cabins but just didn't
catch it soon enough but this I could. Aesthetically it was wrong.
Here I am in the process of trimming and standing back to have
a look. This is a very hard thing to judge except at a distance. |
 |
The red line indicates where the panels was
before trimming. I believe lowering the sheer there has given
the boat a longer, lower and to me, more pleasing look to the
eye. In this photo you can see a layer of 20mm foam placed on
top of the sheer panel in preparation for taping. Another layer
of 20mm foam was placed under that inside to thicken the edge
to 40mm. Also a solid piece of foam was later added at the very
end to carry the line right to the transom to please my eye and
provide for a barrier between marina berth and structure. |
 |
This shows the foam used aft shaped
to the balsa sheer panel and ready for taping. |
 |
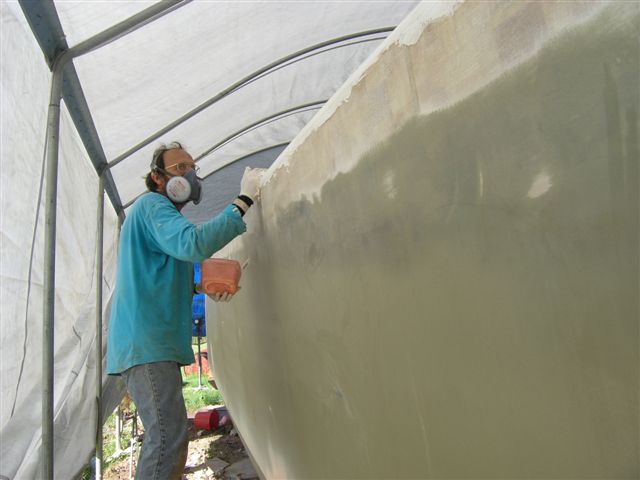
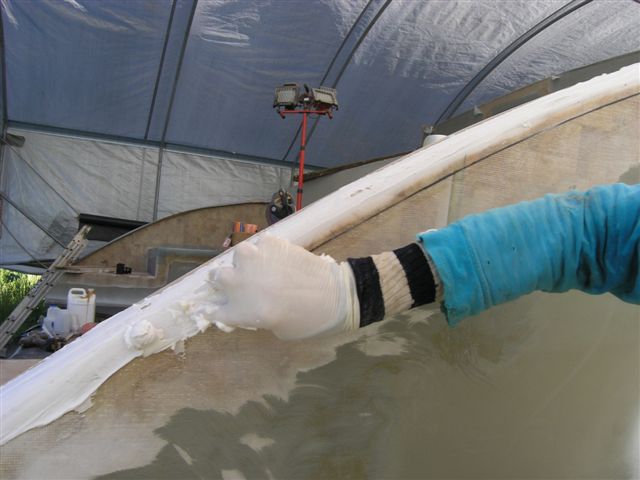
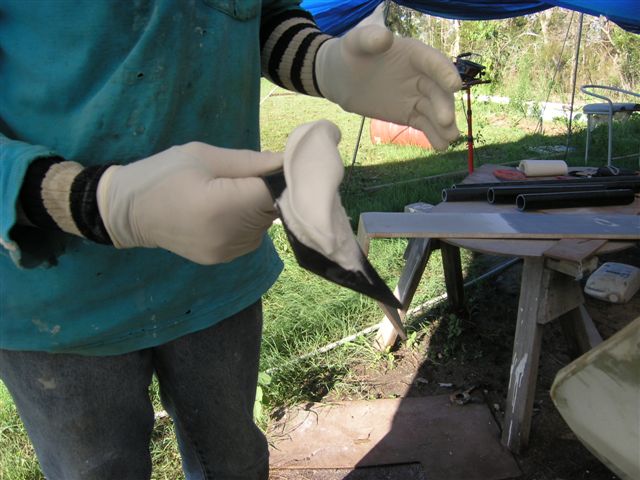
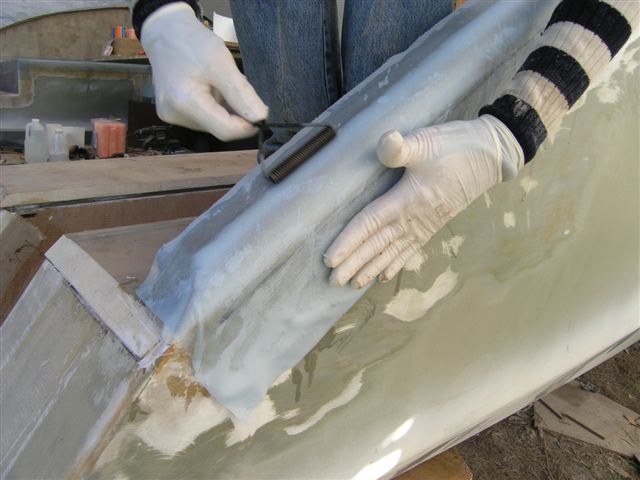
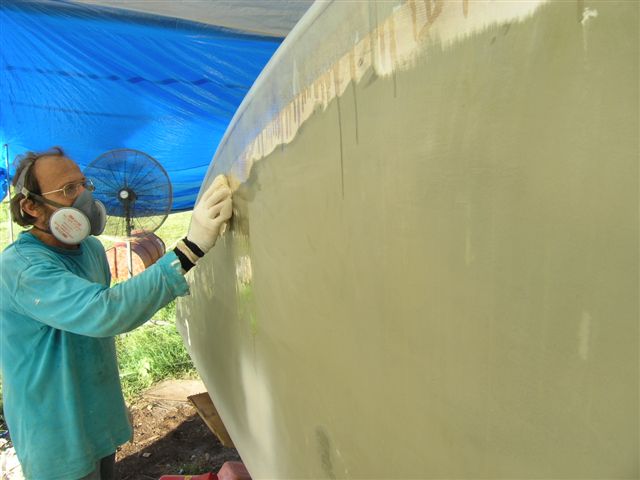
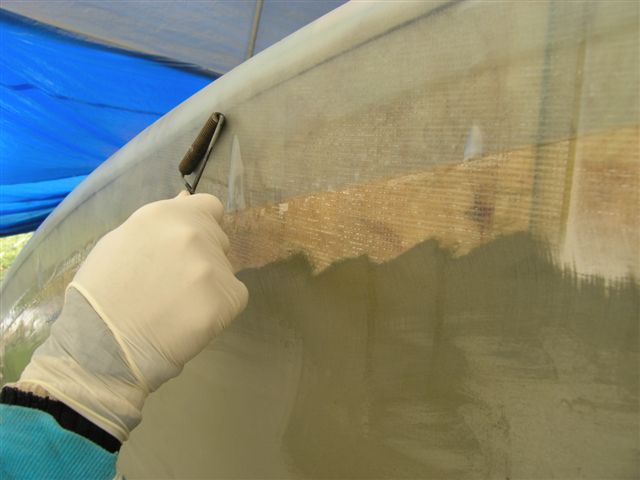
I've mixed 600 grams of resin to make
bogg about half Q-cell and Half Cab-o-sil. I go over the length
first and really push it into any orifice or screw hole, whatever.
Fast and sloppy. Get it stuck and out of the container as fast
as you can. |
 |
Here I've worked from the stern to bow
and now working backward using my palm to smooth the bogg, scooping
up more as I need it to cover the raw edge. I do this to help
fair and to help the tape stick in place better. |
 |
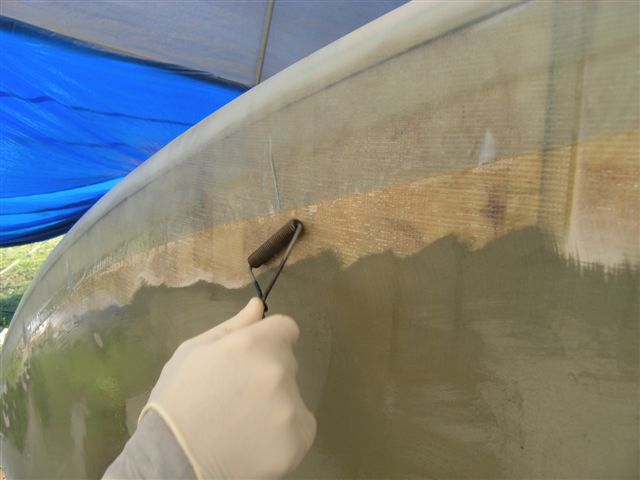
Then back the length with a spatula
to clean off bogg on the flat surfaces... |
 |
As tidy as you can but always go fast
fast fast..... |
 |
Skim away excess |
 |
Both sides, top and bottom.. |
 |
That part done... |
 |
Now my secret tool.. a piece of rubber
about 3 mm thick and 50mm wide |
 |
Start at the bow and drag along..... |
 |
The whole length, nice and steady and
smooth.. don't stop and watch for the ladders holding up the
scaffolding! |
 |
And thats what it looks like at the
end. |
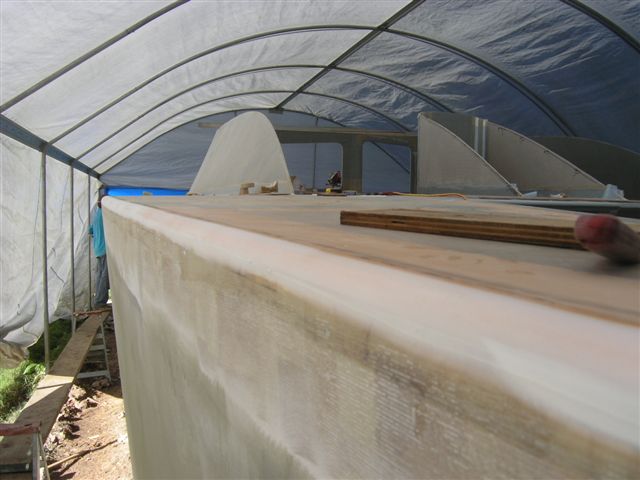 |
The result as viewed from the bow. |
 |
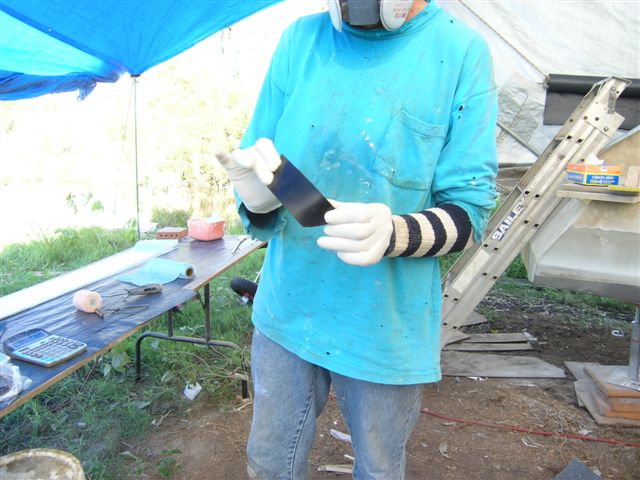
1400 grams resin.. go like crazy!! |
 |
Go go go... |
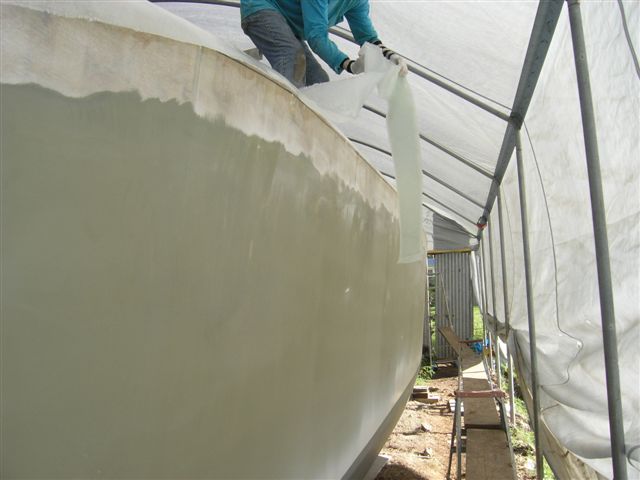 |
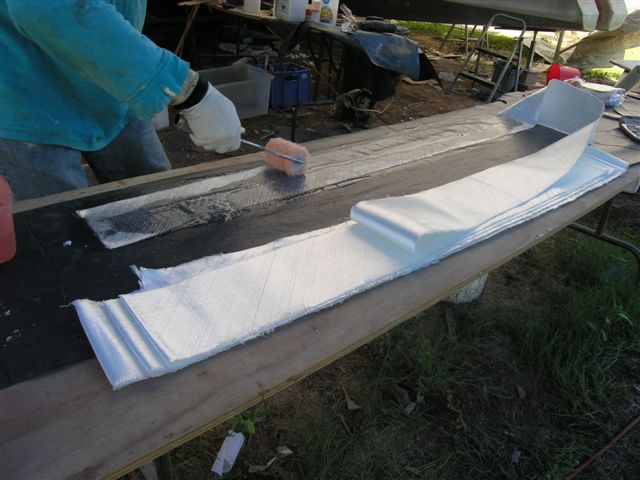
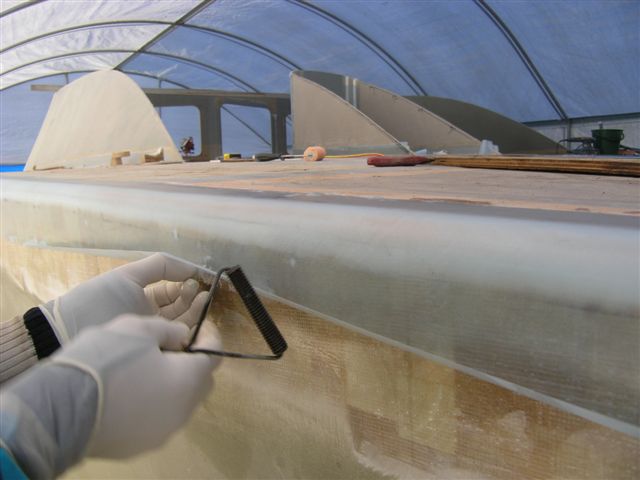
Carry the flaked, wetted tape up and
start laying it out. |
 |
Once out go back and straighten if needed
and make sure it is strechted taunt. |
 |
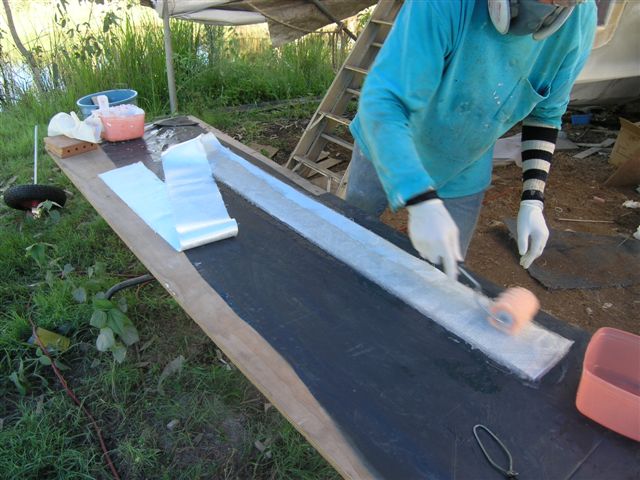
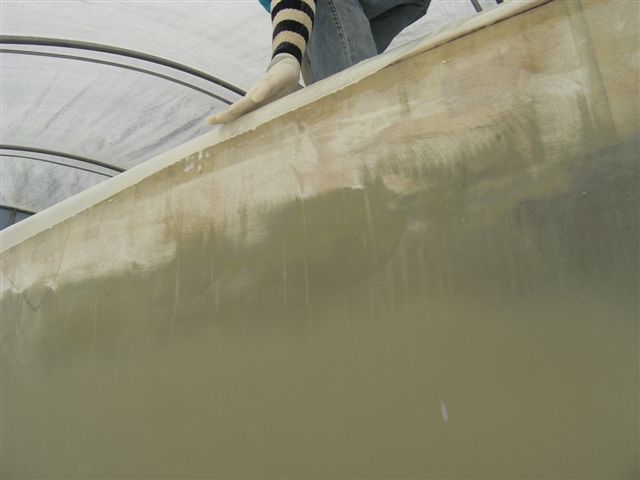
Use the palm to push and straighten
along the centre first. |
 |
Then come back and start rolling and
pulling in opposite directions. I do this BOTH sides, up and
down and make sure every millimetre gets rolled but fast fast
fast.... don't panic but don't waste a move either. |
 |
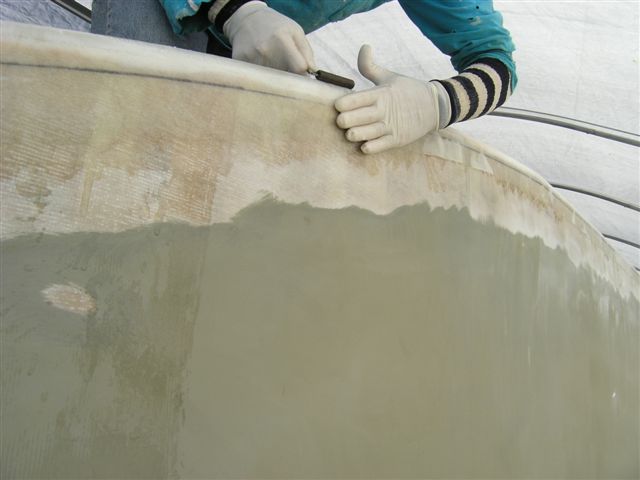
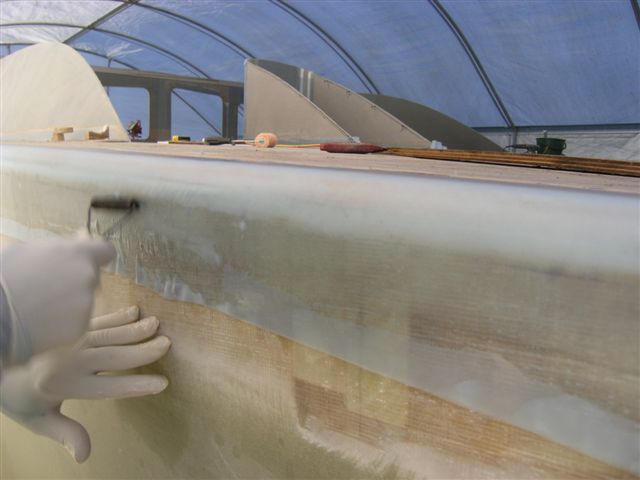
Peel ply |
 |
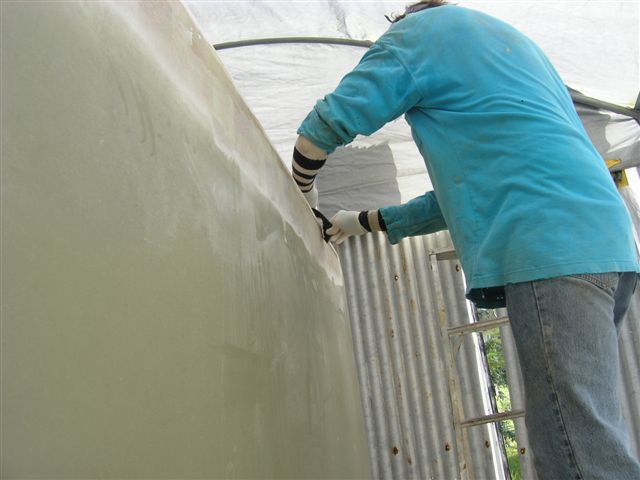
pull snug for the entire length.. |
 |
In place and ready to work. |
 |
Same thing as in rolling the tape, pull
in opposite directions, first one side then the other... |
 |
A little more resin to help wet it in
as the peel ply should become transparent. |
 |
pull with one hand whilst rolling with
the other to make the peel ply taunt over the tape assisting
in smoothing... |
 |
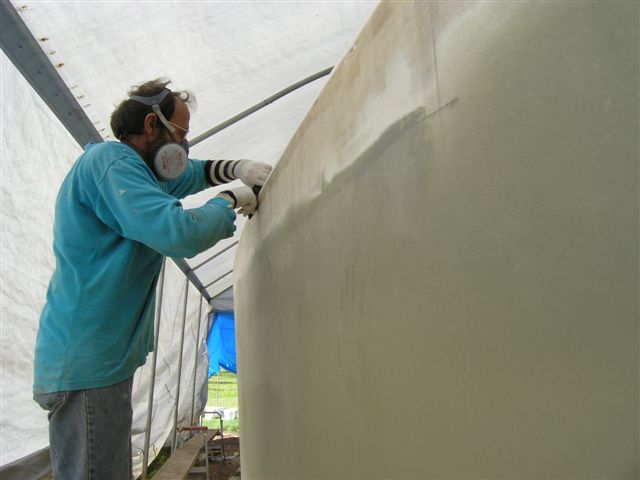
And in areas where it isn't a straight
line.. really pull firmly on the tape toward the nearest end,
as you roll. This is also rolling in the tape and double checking
that work. I prefer working the tape through the peel ply as
the roller works smoother and the visibility is good. |
 |
And now double check... triple check..
and check again... |
 |
Don't stop till you drop... |
 |
Use a rag wet with acetone to clean
off dribbles. |
 |
I've had some problems with the tape
forming lumps and rising off the work... can you spot the void
that I found? Just slightly off centre to the right. I know this
isn't outgas as it is foam under the tape there and it doesn't
gas. |
 |
Only thing to do is reach under and
stretch the tape top and bottom. Very tricky as the resin is
very gel now. |
 |
Roll firmly.. And
got it. Had three spots like this. I'll be speaking to Colan,
the maker of the tape about this. |
 |
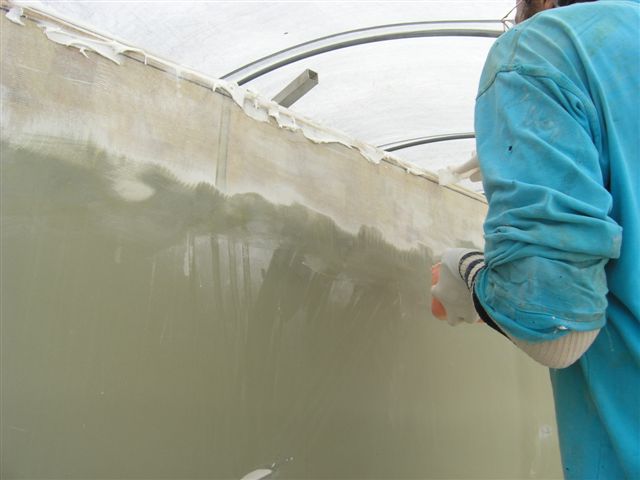
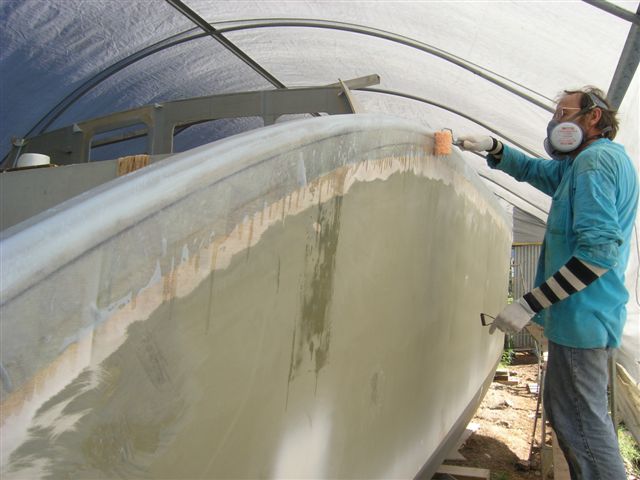
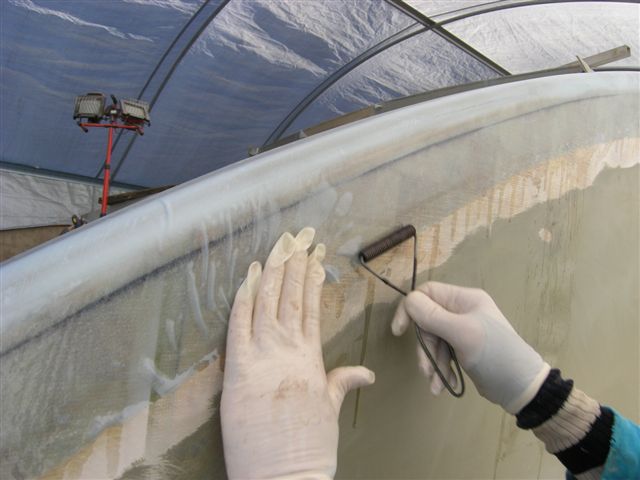
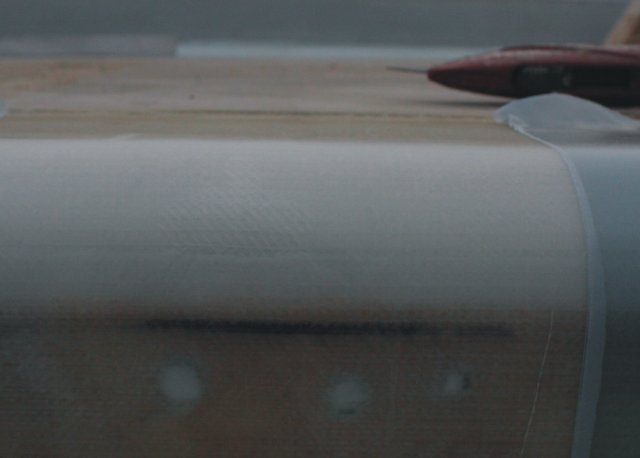
Where the shear is curved and the peel ply
has these high spots... when the resin starts to gel you can
make them lay down to make the best surface. see below |
 |
There... |
 |
This is near sunset now... and I worked
on it till dark and then came back after a beer with a torch
and went over it again... |
 |
Next morning.. And
in spite of working so hard wound up with an air bubble under
the tape. Gassing? Couldn't be.. just too late in the day. I
did have some problems in the taping with a few spots that needed
me to really insist on laying flat while rolling.. |
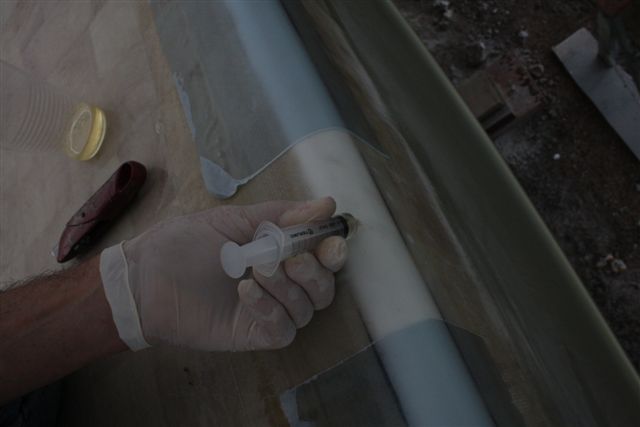 |
But anyyway, when I caught it it was
early next morning and the resin was still green and mobile.
I cut a tiny hole at the top of the bubble and injected it full
of resin. |
 |
Then applied a piece of non-stick plastic
and a small section of PVC pipe that was about the right contour
and braced it against a tent pole. The result was perfect. I
could see it with the eye but it was invisible to my touch and
that is what will count later. |
 |
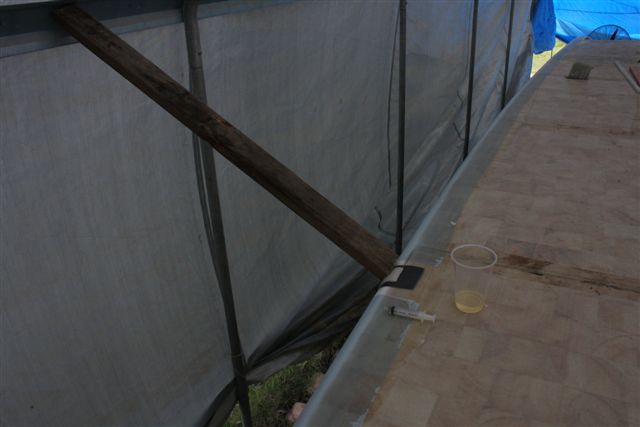
So what caused it??? might have been
at least partly this. I noticed spots like this in the tape roll
I had used. Between this and some rough handling to get the prewetted
tape in place fast... who knows but wetting this tape in place
would have been a horrendous mess. Also I think the outside curve
would have aggravated the result. An inside curve may have had
a depression but not air underneath. |
 |
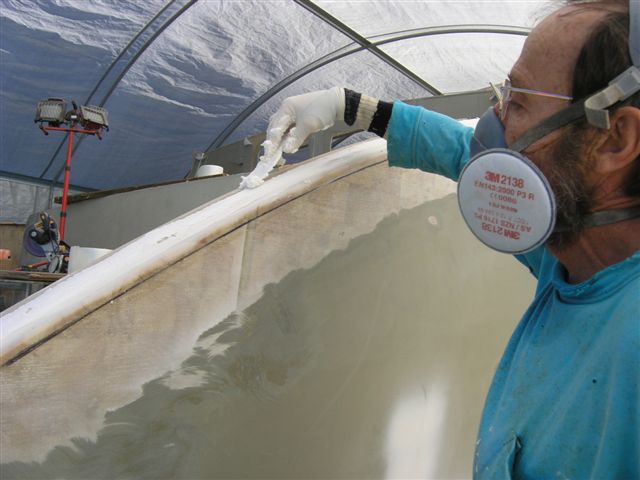
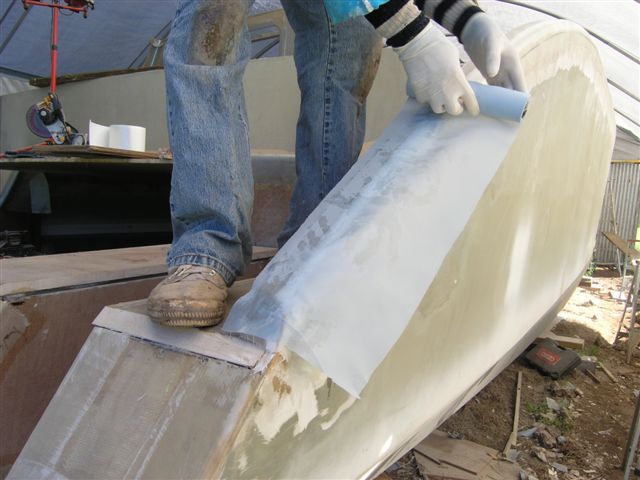
I didn't like the way the sheer ended
so included this block of foam to fix up the aesthetics and to
provide a buffer for impacts. |
 |
After taping in this is how it looks.. |
|
|
|