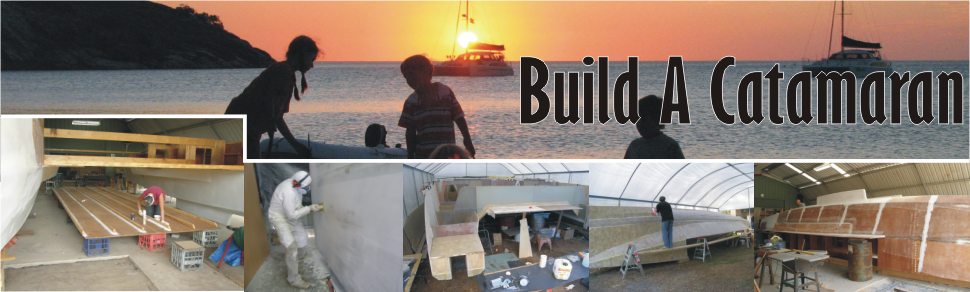
Designing,
lofting, laminating and installing the cabin sides
There never were any plans for this
part of the boat though the original drawings incorporated my
basic ideas. As I was working the materials on the rest of the
boat and gaining experience in how the stuff works... and as
I was actually seeing the full scale hulls, a new design was
creeping into my mind. So in an effort to simplify construction
and reduce windage, this is how I went about it.
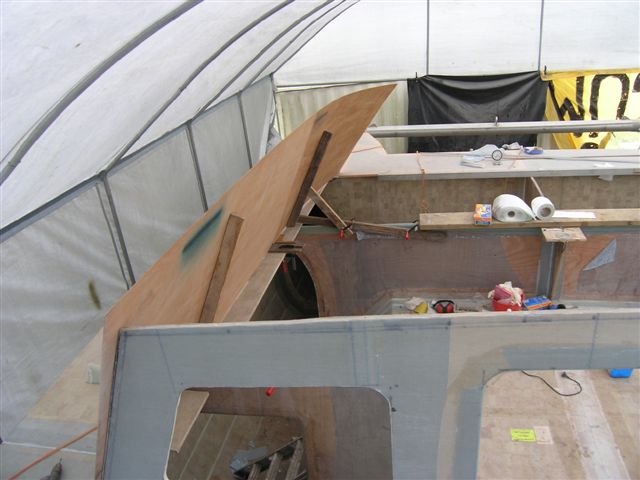
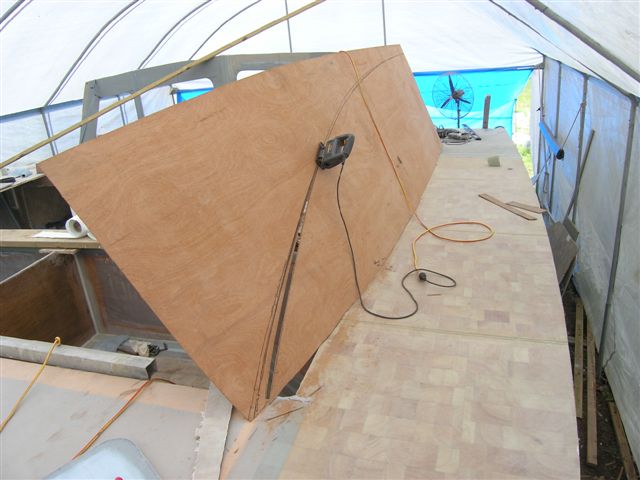
First thing is to find the line on deck.
I used a piece of square tube and clamps to get the fair line
and stood back and had a look.... Then traced the line on deck
with a marker pen and... OK, lets go!
Then screwed two pieces of cheap bracing
ply together and clamped timber in place for brackets. Notice
I increase the angle toward the bow. This was just my guess at
how malleable the panels would be and where the head room would
be required.
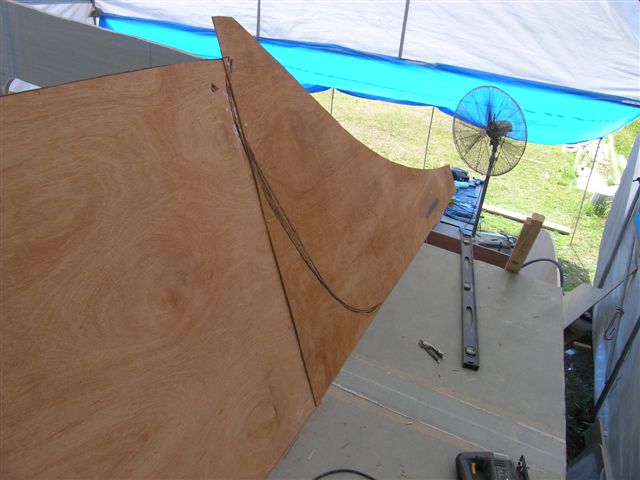
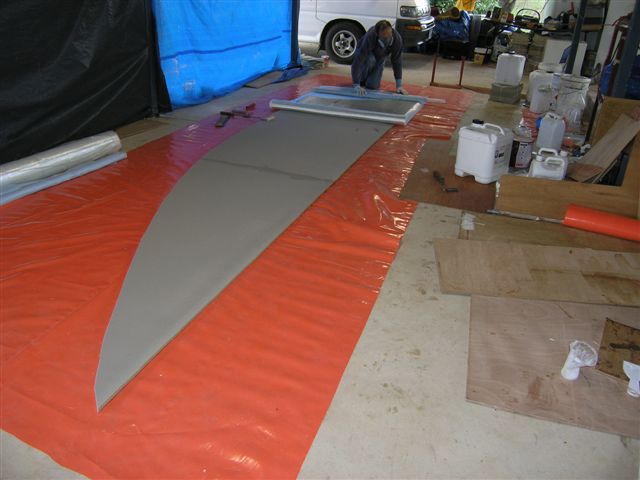
Here I used a piece of 19 X 19mm timber
for my fairing stick.
I traced the line against the stick
and added a bit of free hand to come up with what looked "right"
to my eye.
I used the cutoff from the trim above
to fasten aft for the tail of it. This I didn't give a lot of
thought to. I figured on trimming this up after the fact.
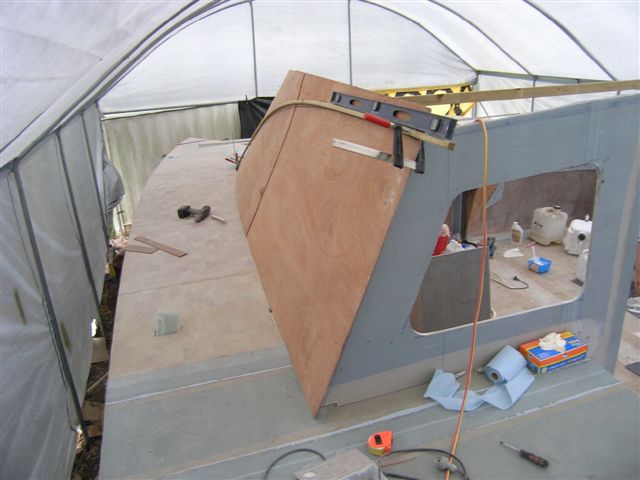
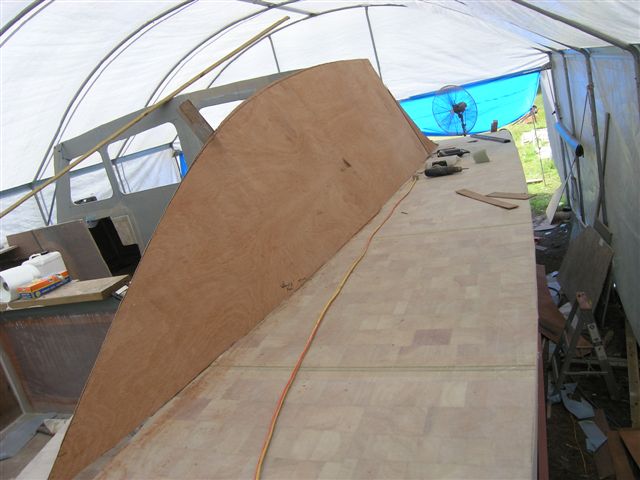
OK!
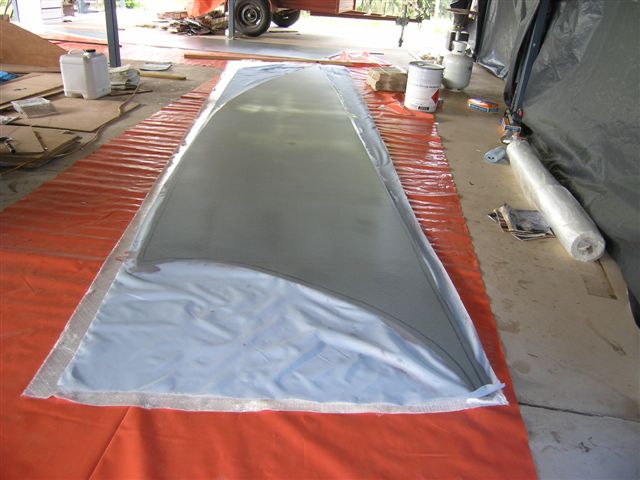
I used 12 mm 80 KG foam and 600 DB glass..
panels screwed and glued together very carefully to prevent miss-matched
edges and then traced from my ply template.
And away we go! I've covered large panel
lamination in previous sections so won't duplicate here.
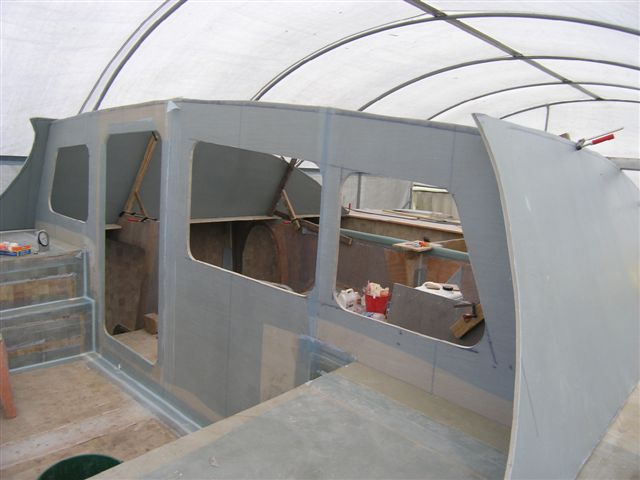
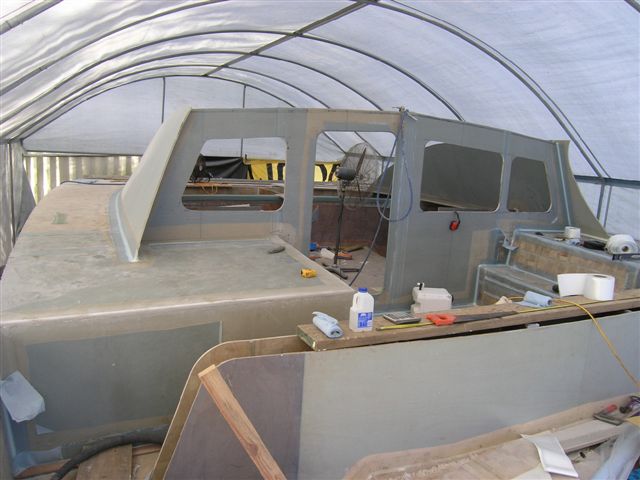
There done. Note the other side done
as well in the background.
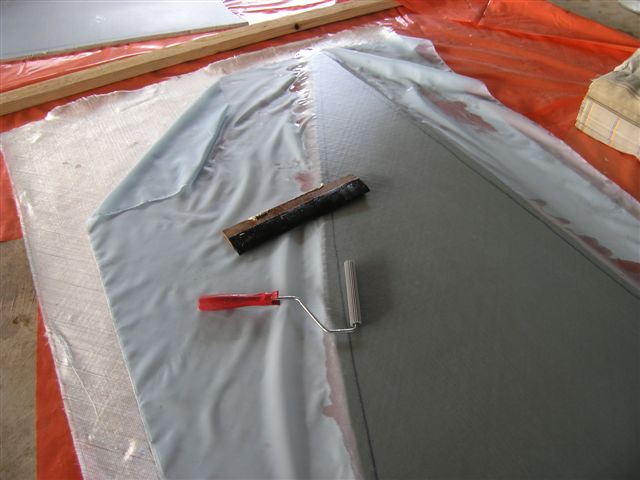
These are the tools I'm beginning
to favour for big stuff. A home made squeegee and a 6 inch roller
that is great at pushing around a lot of resin but not good with
a thin coat.
Also note, I cut my foam outside the traced
lines to provide insurance in case....
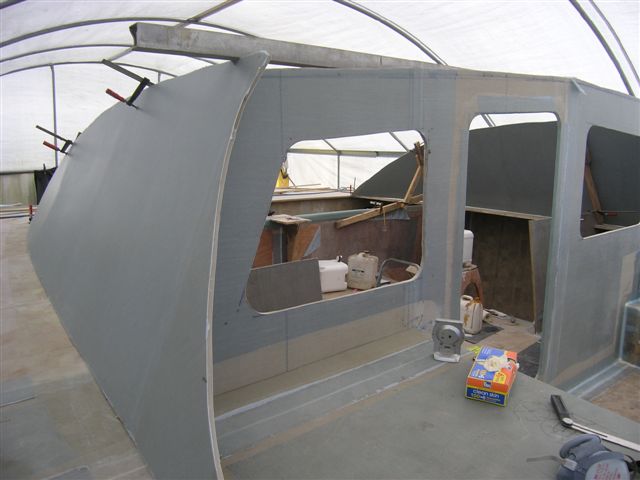
Got both sides braced up and used the
big beam to check level from side to side and all looked very
good.
all good...
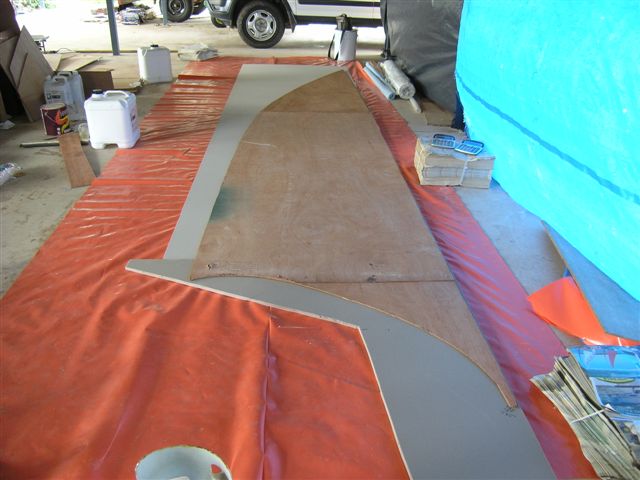
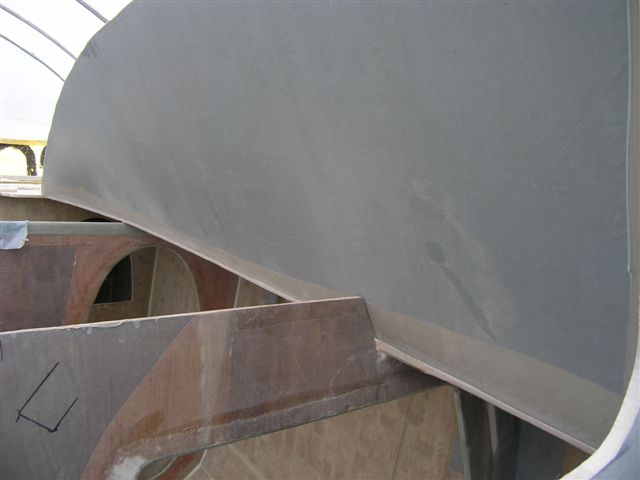
At the forward edge I was short of deck
so added a triangle shaped piece to fill it in...
Then get that big long tape in place
so the braces can be removed safely.
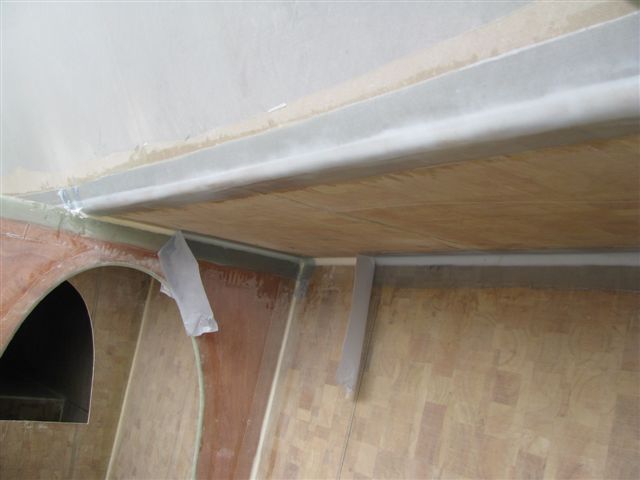
And I hadn't finalised the taping, filling
of the chainplate bulkhead and it's doubling plate of ply.
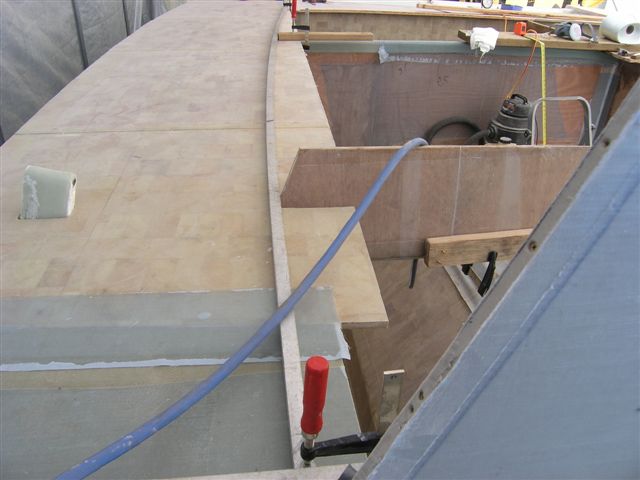
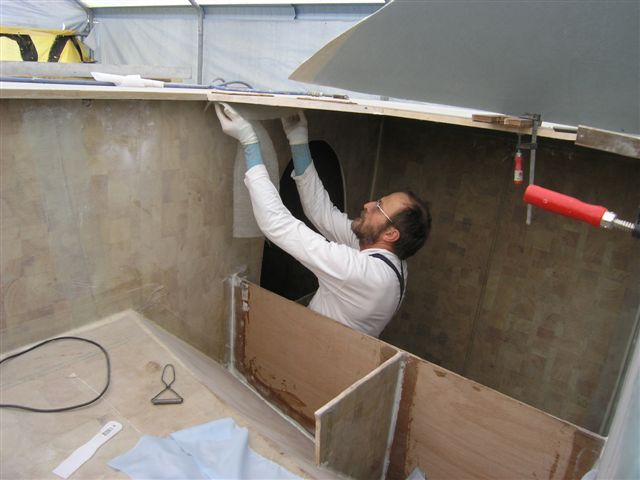
Then I could trim off the excess deck
and trim all the chainplate stuff to smooth. This was a hell
of a job as overhead grinding and cutting is very hard to keep
the shit out of your eyes.
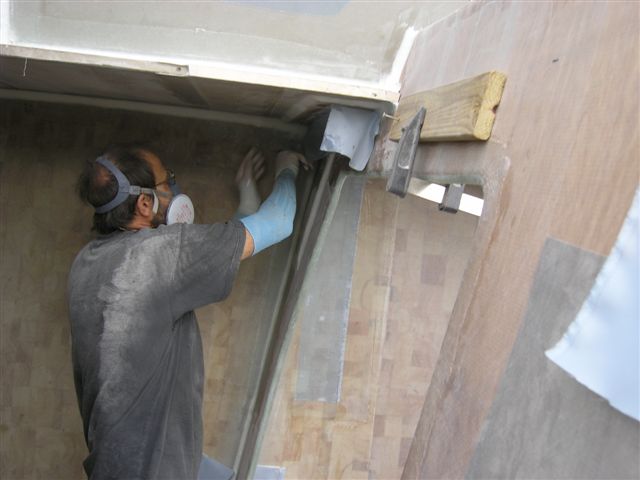
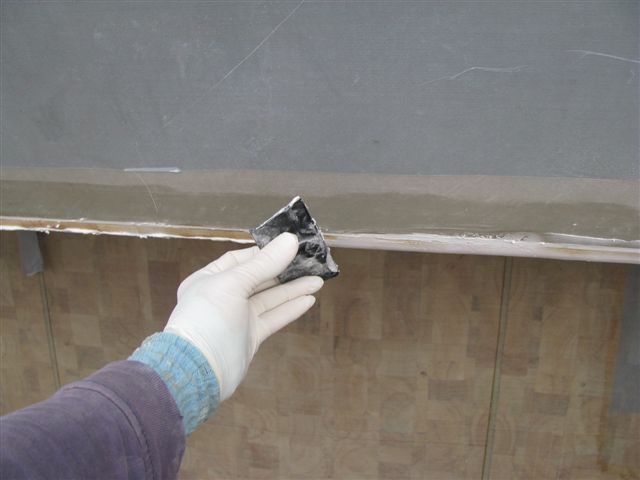
I use the bogg over the edge to help
the tape stick and avoid voids... and to fill minor low spots,
all wet on wet.
And peel ply over the top as normal
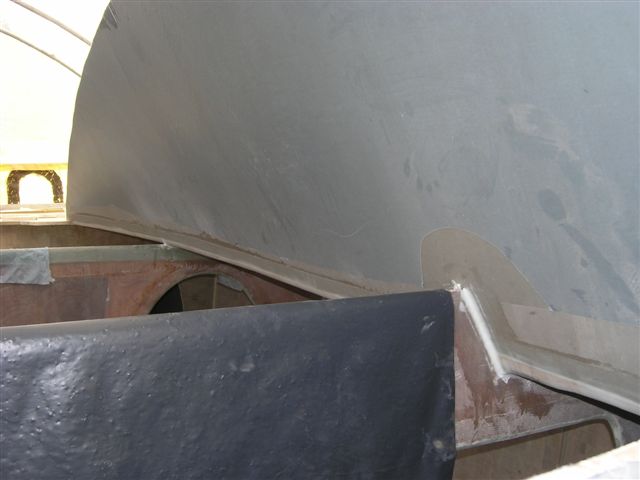
Taped in now.. and peel ply removed
in preparation for other work and to check out the outgassing
that ocurred.
Remember I mentioned above about the difficulty
of keeping shit out of my eyes doing the overhead grinding? Well...
I did this tape early in the day and the deck section is the
cursed Duflex balsa. I was intending on being around to keep
an "eye" on it in case it did outgas but I had to go
find an eye doc instead so he could fish the piece of glass out
of my eye... and while I was gone and recovering.. sure enough.
I have already repaired a good deal of
the gassing in conjunction with instalation of fit out and will
do the rest later.
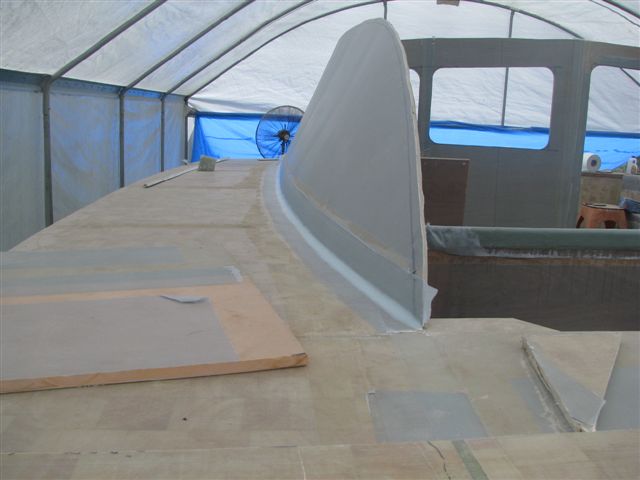
The top edge of the cabin bulkhead and
cabin sides will be trimmed later when there is more structure
in place. There is about 40mm excess there now. I intend about
100mm (4") of camber on the roof.