 |
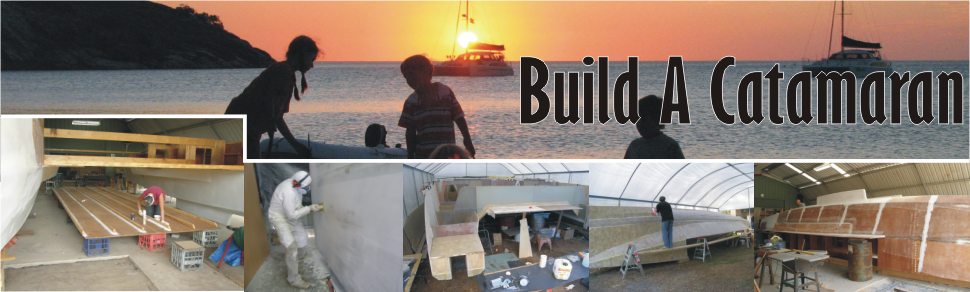
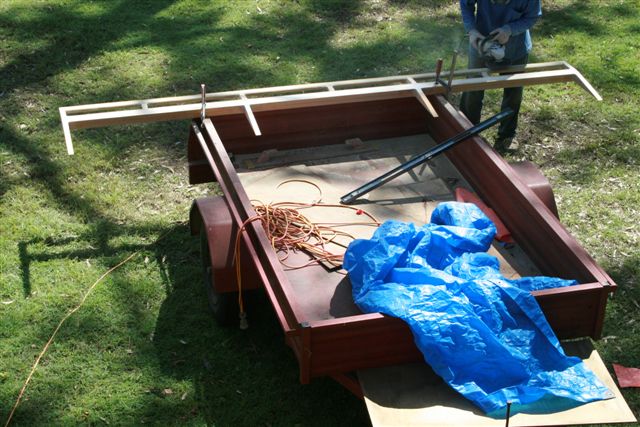
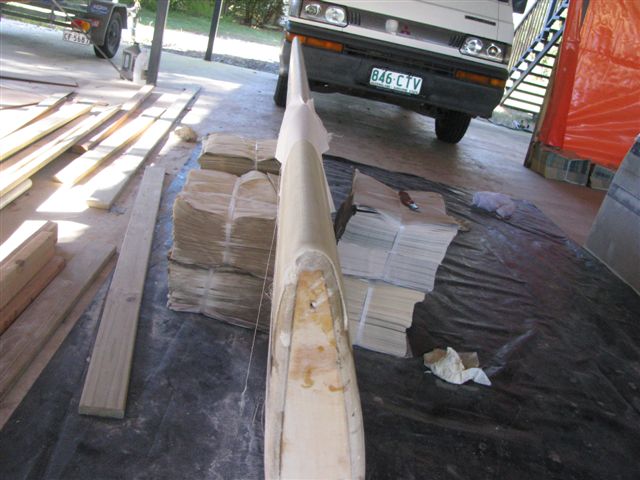
Getting perfect clear hoop pine is no
easy thing. This timber set for the spines of the boards came
from Boat Craft Pacific. Beautiful timber but hired hands can
be a little careless in storage so it came a bit tweaked. |
 |
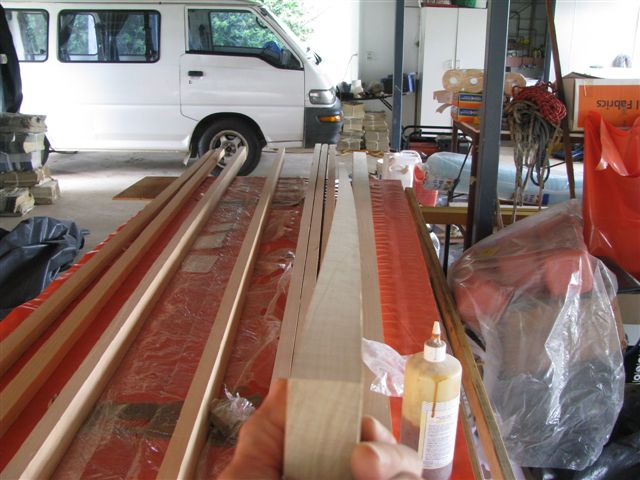
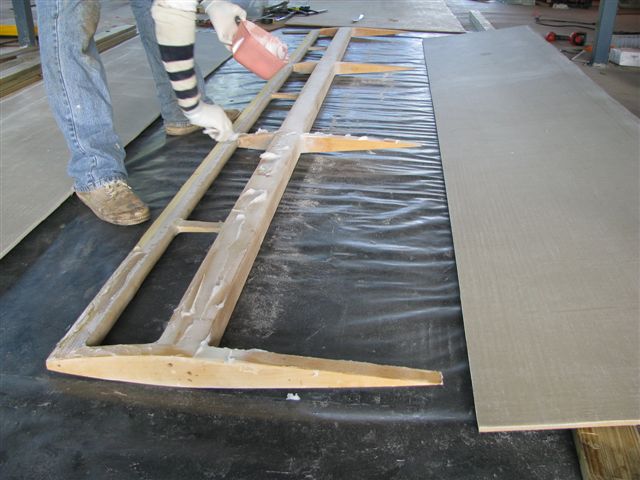
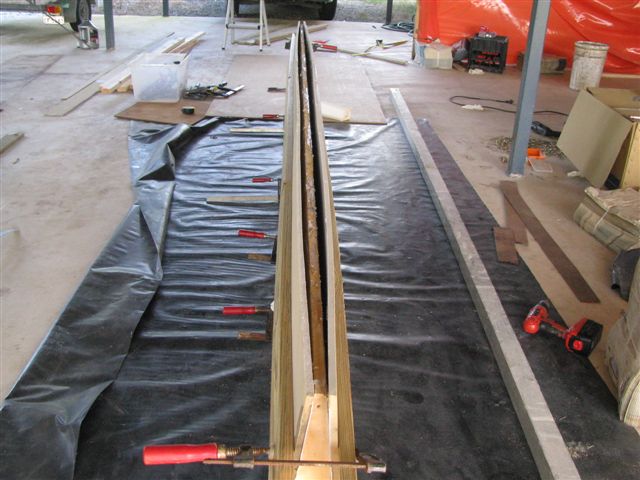
The central member was a lamination
of three pieces to get the right dimension so I arranged the
bent pieces to oppose each other and glued them together and
clamped both sets together to further straighten and let them
sit for a couple days. |
 |
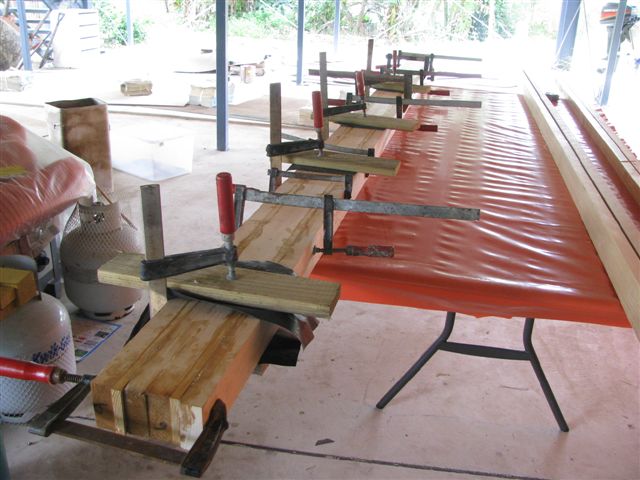
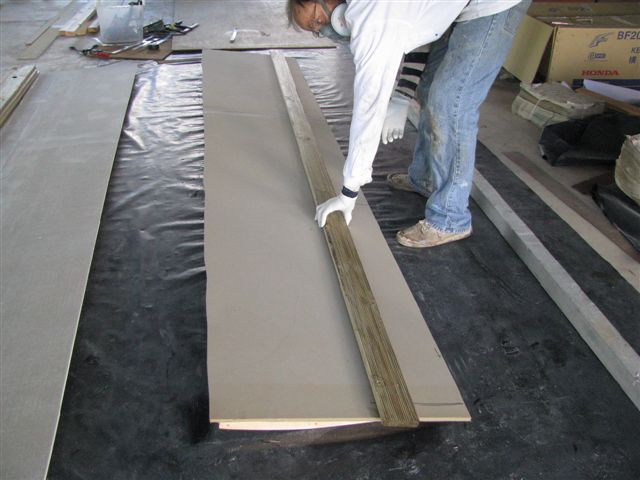
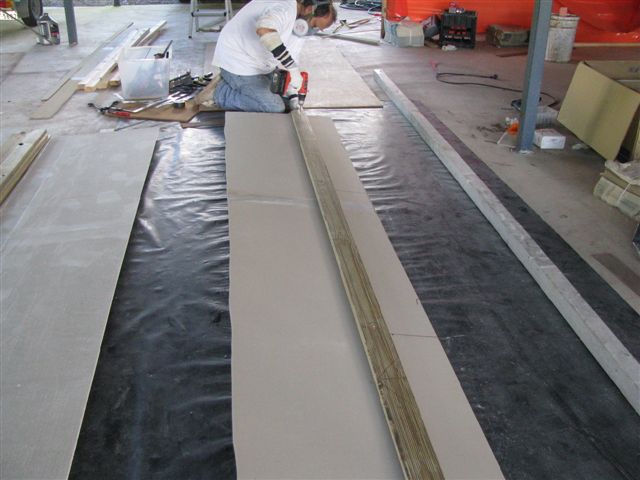
I am using 10mm foam for the skins so
glued together the sections here... |
 |
I borrowed a band saw to cut the end
caps and pointy bits. I screwed them in place and used a angle
to run the length and keep straight. When satisfied I glued them
in... checking every inch of the way.. then checking again..
and again... |
 |
until I was sure.. these are set.. |
 |
Back to the foam. Laminated the inside
with 450 uni 0 degrees. This is actually a BA with most of the
glass running north and south and about 20% east and west. The
centre of the glass will be my halfway mark. That will determine
the board width. |
 |
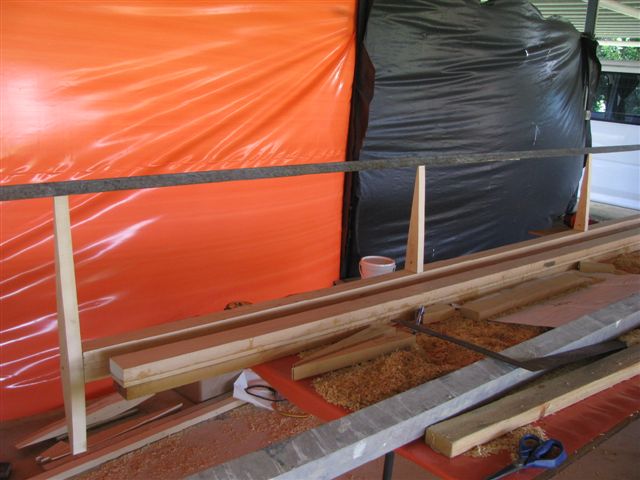
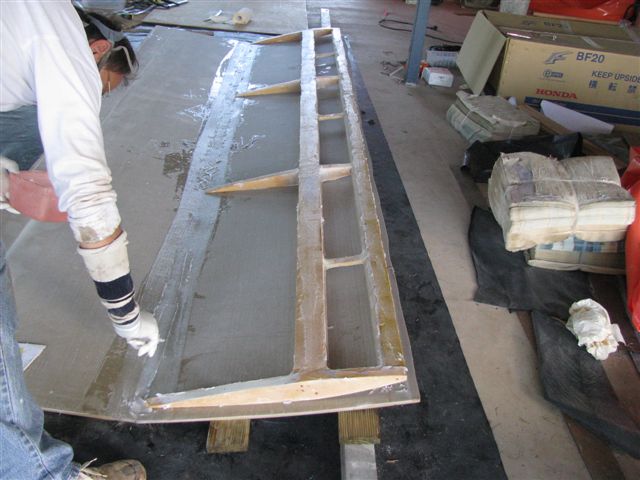
A little filling to fix up my less than
perfect woodworking. You can see here and the following photo,
that I put a little piece of tape on the bases of each upright
piece. Made me feel more confident and easy to do. Stiffened
them right up. |
 |
For the leading edge, the timber I got
was a bit to wobbly to use. I had some very heavy foam left over
from my rudders and already cut into strip so I put a laminate
on the back side and mounted that in place of the timber. |
 |
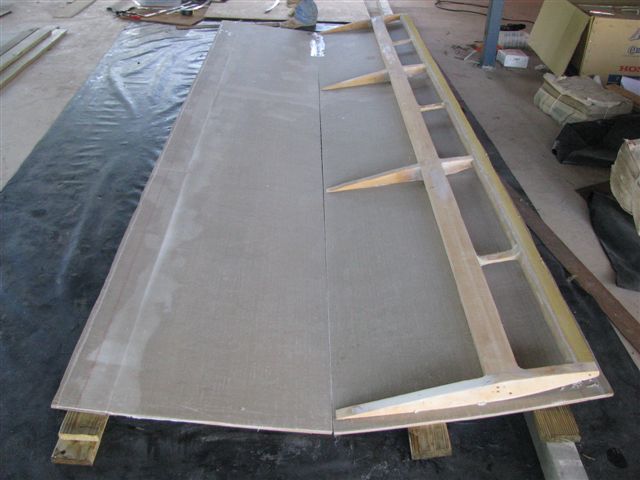
After the leading edge was set I ground
it to shape. Notice I also put in small supports between the
other fixtures. Again to stiffen. Added nothing to weight and
it did do it's job. |
 |
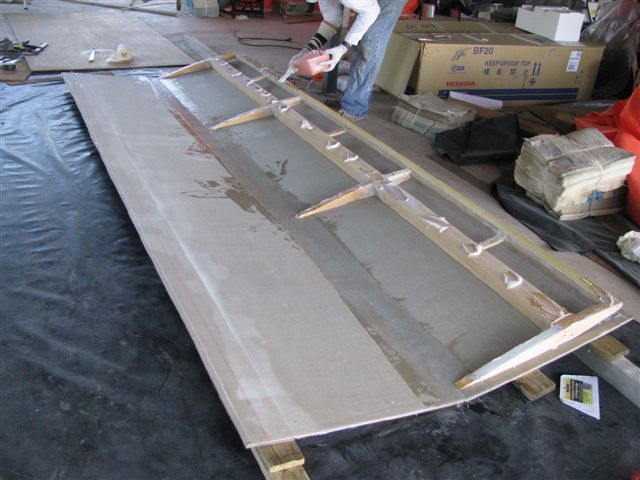
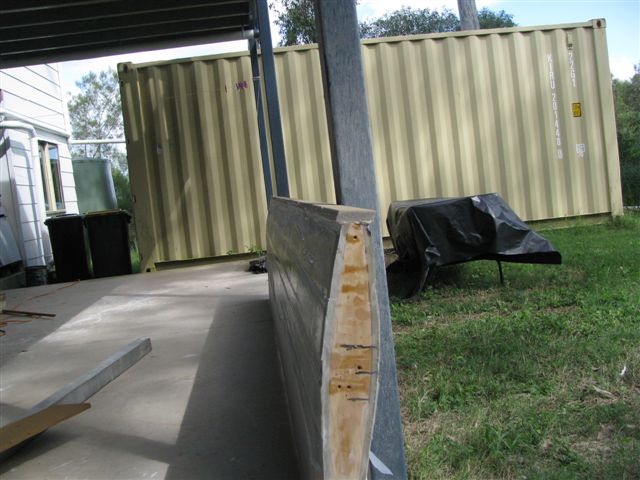
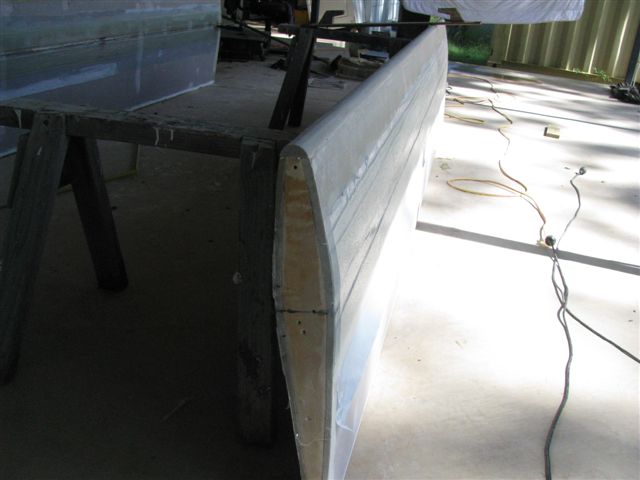
The foam has been split and trimmed.
The trailing edges should be as true as you can make them. The
leading edge doesn't matter. Laying on a glue mix. |
 |
Then a timber lined up to stabilise
the contour of the foam and ... |
 |
fasten to the ribs.. |
 |
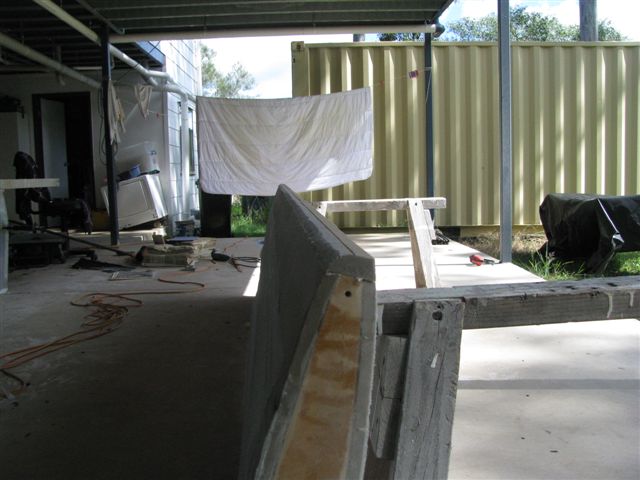
Now the bottom side is glued and
screwed to the timber underneath toward but not at the trailing
edge. Notice have left the foam about 1/4 inch from end of ribs.
the angle is set up so the foam sheets
meet at the most stable position possible. The meeting line was
close but would have preferred better. |
 |
I wetted a 750 tri ax tape and prised
up the ribs from the foam and tucked it under to run the full
length. Now applying glue. |
 |
Have spread the glue and leaving more
glue mix over the centre of the tape |
 |
And folded the foam over with greatest
care so as not to disturb the tape and start clamping the edge
and screwing in a mating timber just back from the trailing edge. |
 |
And then start working upwards. I used
4 mm bracing ply scraps to screw into the ribs and spine and
timbers toward the top to the leading edge. |
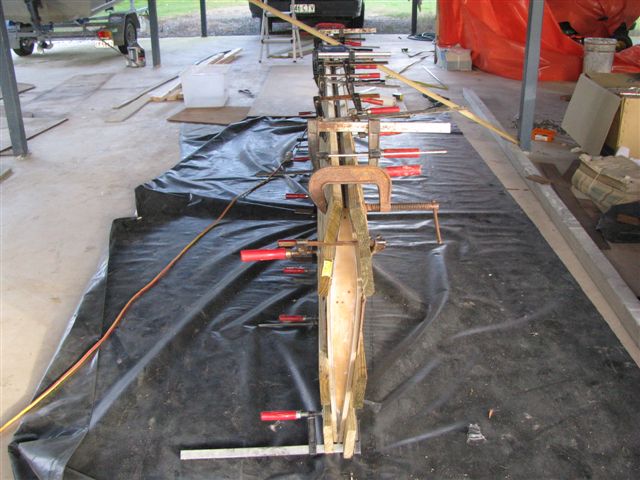 |
A man can not have too many clamps.... |
 |
Glue set and supports removed. |
|
On the trailing edge I incorporated
a rolled up length of uni to stiffen... overkill really... in
with the normal filler mix. |
 |
Here was a missed opportunity! Along
with fairing the foam as there were some minor irregularities
in the surface, I could have reduced the thickness of the foam
by the leading and trailing edges but I got timid. Too worried
about loosing stiffness when later I found that concern to be
misplaced. |
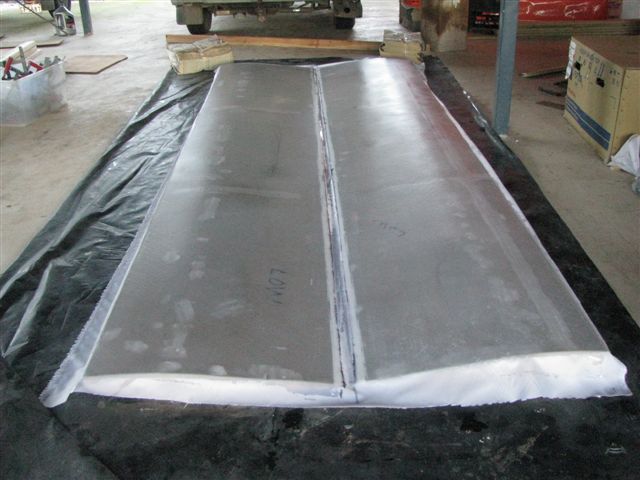 |
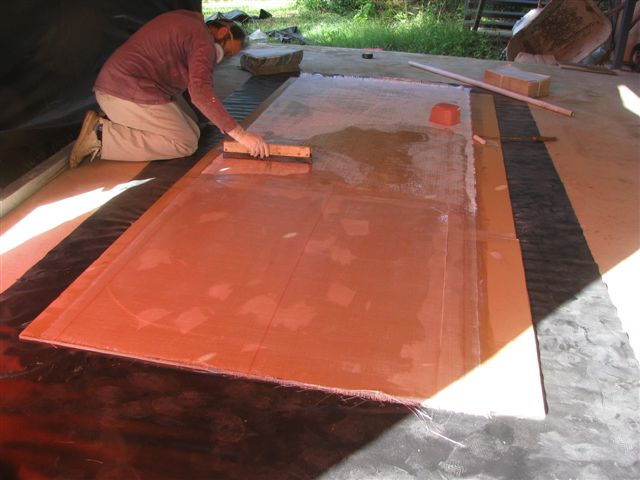
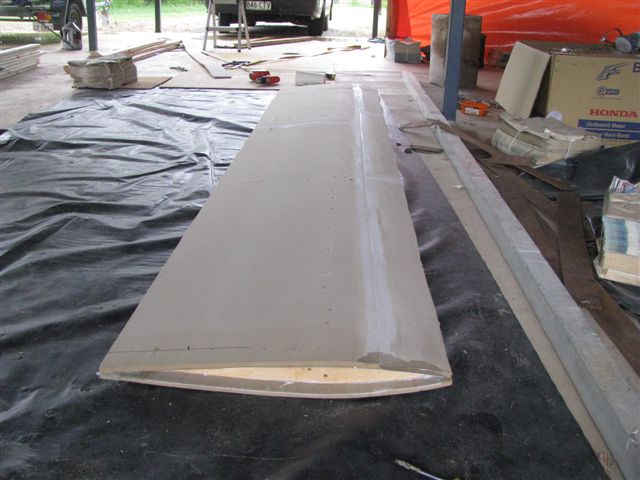
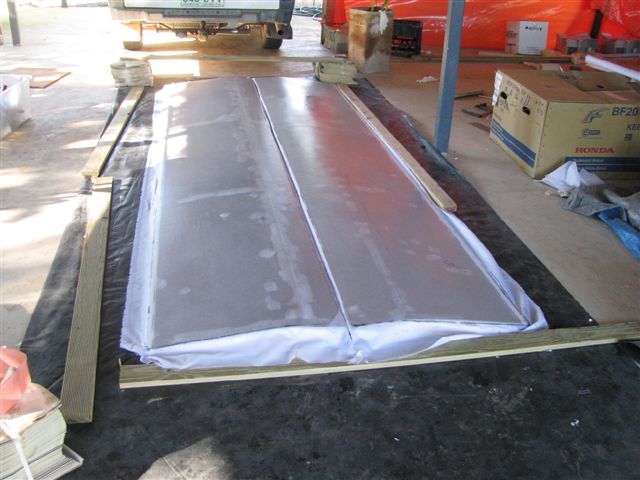
Next step was to laminate the boards
over the foam and the epoxy filler trailing edges. Used one piece
off the roll of 450 DB and peel ply |
 |
Then the other side... this time used
separate DB sections.. don't remember why but used one piece
of peel ply to cover both. |
 |
|
 |
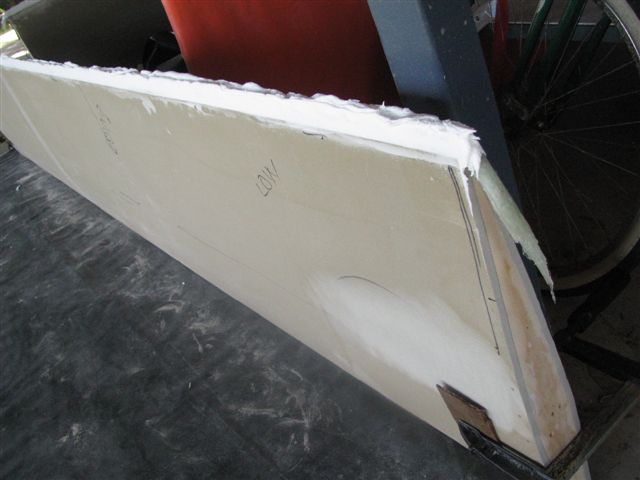
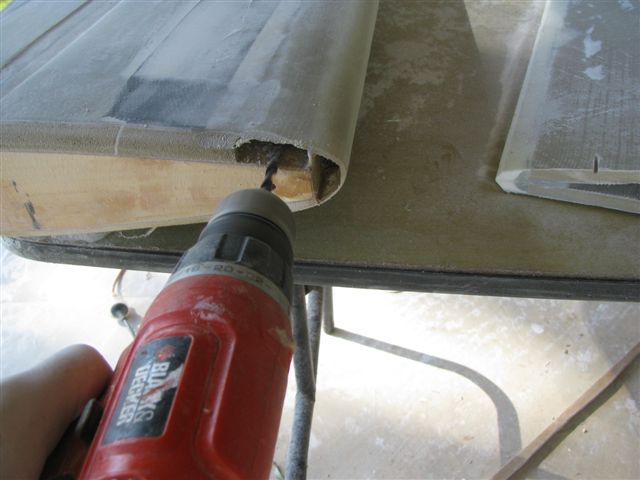
Time To cap the leading edge using
a strip of 12mm foam. That section of aluminium tube is something
I have been carrying around for years and have used it to screed
concrete and a million other tasks. It is straight as and indispensable.
As you can see below, I got a nice true edge because of it.
|
 |
Failed to get photos of the process
of laminating on the uni on the sides but you can see it here
and above. To leave the centre free to place a groove for a hoisting
line later, I used two pieces of 850 gr by 150mm wide and folded
them over to make two 75 mm strips leaving about an inch in centre.
A mistake I made when laminating the uni was in not insuring
the boards were perfectly flat whilst the uni was curing.
One of the boards set with a little twist as a result. It was
about 4mm out on the length of it. Avoidable and inexcusable.
I knew better but got careless. |
 |
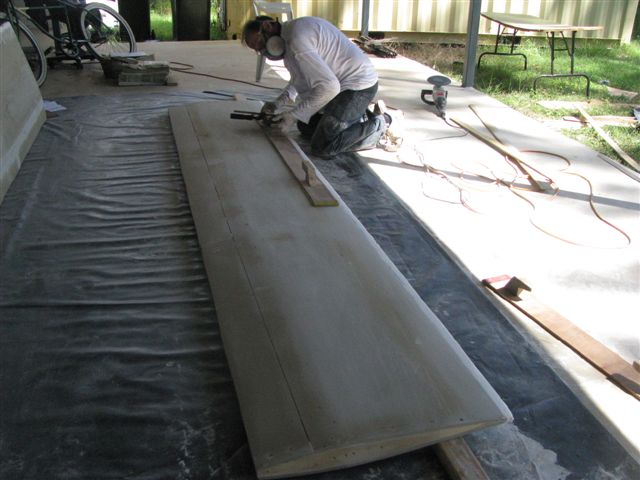
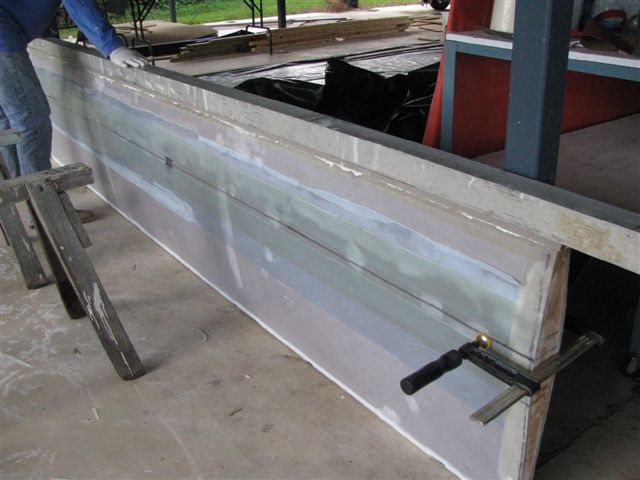
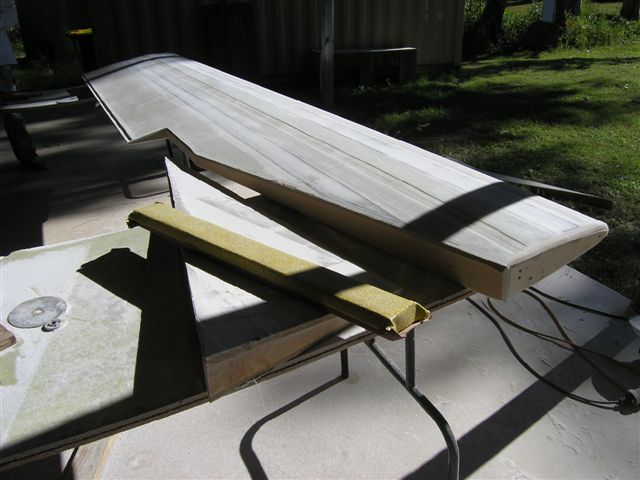
Shaping the leading edge was done with
7" sander and torture boards to true. |
 |
|
 |
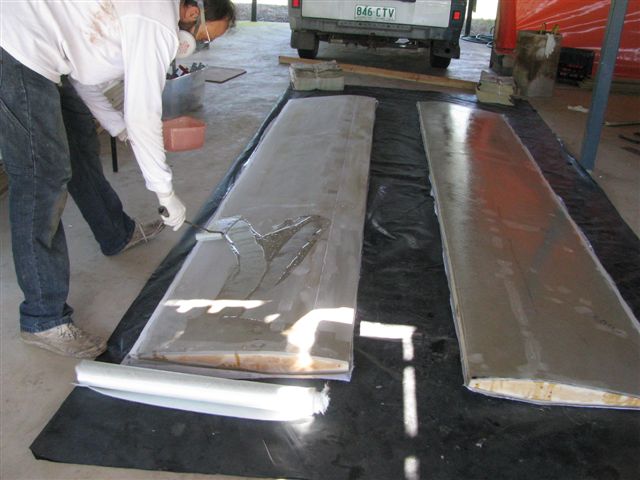
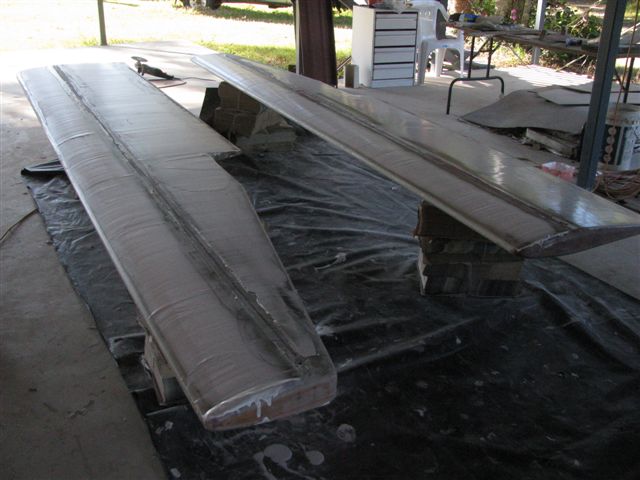
One edge laminated while the other is
gluing. |
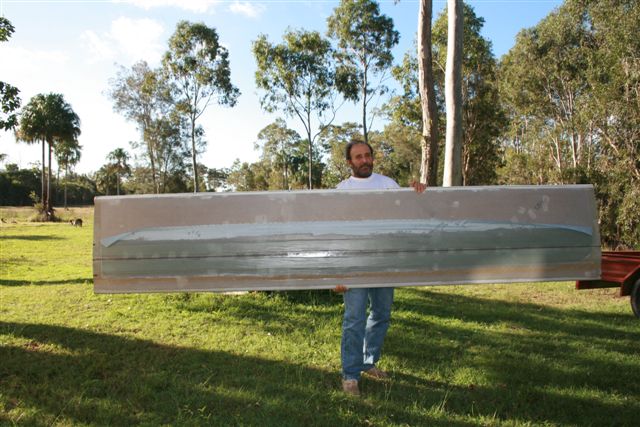 |
There... with some fairing and paint
they are done....
BUT NNNOOOOOO!!! These
things are too important and I couldn't rest till I was satisfied.
The leading edge came off too fat, the trailing edge to thick
and I still had that twist in one board.
Jewellers shouldn't build boats.
|
 |
I ground off the tape on the leading edge
and this is the result. I got a bit finer entry and that is what
I wanted. |
 |
I have a good slab of timber on the
foot but I also decored the foam and filled with bog to with
stand the occasional oophsie. |
 |
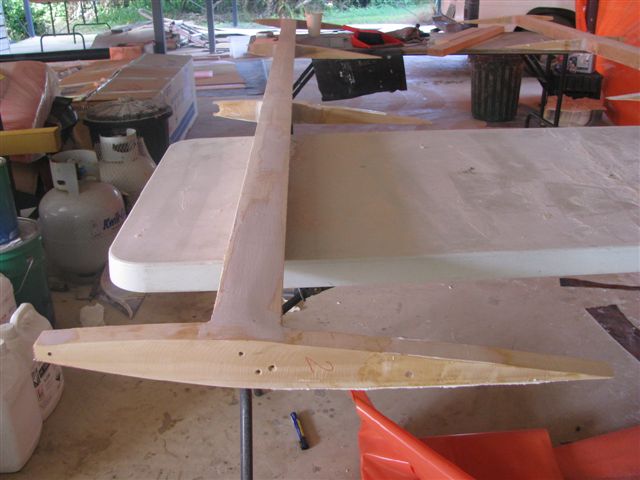
To increase the stiffness of the
boards I put a layer of carbon fibre alongside the glass uni
already in place. Because carbon is even more resistant to elongation
than glass, this is an engineering stuff up. I could have ground
off the glass as it would only come into play after a failure
of the carbon. But at this point it was a part of the profile
too so left it. The notch in the cutaway is to allow a block
(cheekplate) to be fastened onto the vertical bit. I embedded
a piece of aluminium into the foam to take the screws. This negates
the need for a groove in the board or case for lifting lines.
The board cavity itself in the case is where the lines will travel.
This is a Bob Burgess idea.. thanks Bob!
I used scrap piece of foam for the repair.
Already glassed back side and then overlapping tape will laminate
the outside. A heavy glue mix was used to fasten pre-taping.
One more thing... notice the thin strip
on the trailing edge? That was an idea from Mal Salisbury. I
embedded a strip of plastic there to assist in keeping the edge
fair and true. Good idea. I cut a line in the bog I had there
and set up the strip by eye with glue mix. |
 |
I cut a profile shape out of a piece
of ply and used it to trowel on bog lengthwise and then.... |
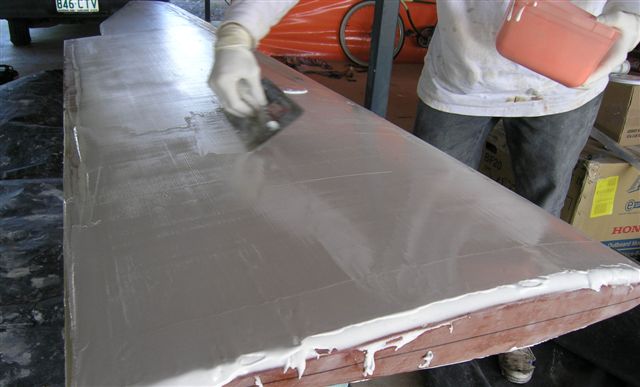 |
Just as the first coat is going firm,
trowel on a layer going the other direction with a mortar trowel
to achieve a more even surface and ready to sand the next morning,
being careful to use the profile board whilst sanding to keep
the proper profile. I figure the profile board to be a permanent
piece of the ships equipment and should be safeguarded.
Once sanded, primer and paint. |
|
|
|
|
|
|
|
|
|
|
|
|
|
|
|
|
|
|
|
|
|
|
|
|
|
|
|
|
|
|
|
|
|
|
|
|
|
|
|
|
|
|